CR10s Upgrades (2022)
My Customizations
E3D Hemera Hotend Upgrade
View on PrusaPrinters (Coming Soon…) View on Thingiverse (Coming Soon…)
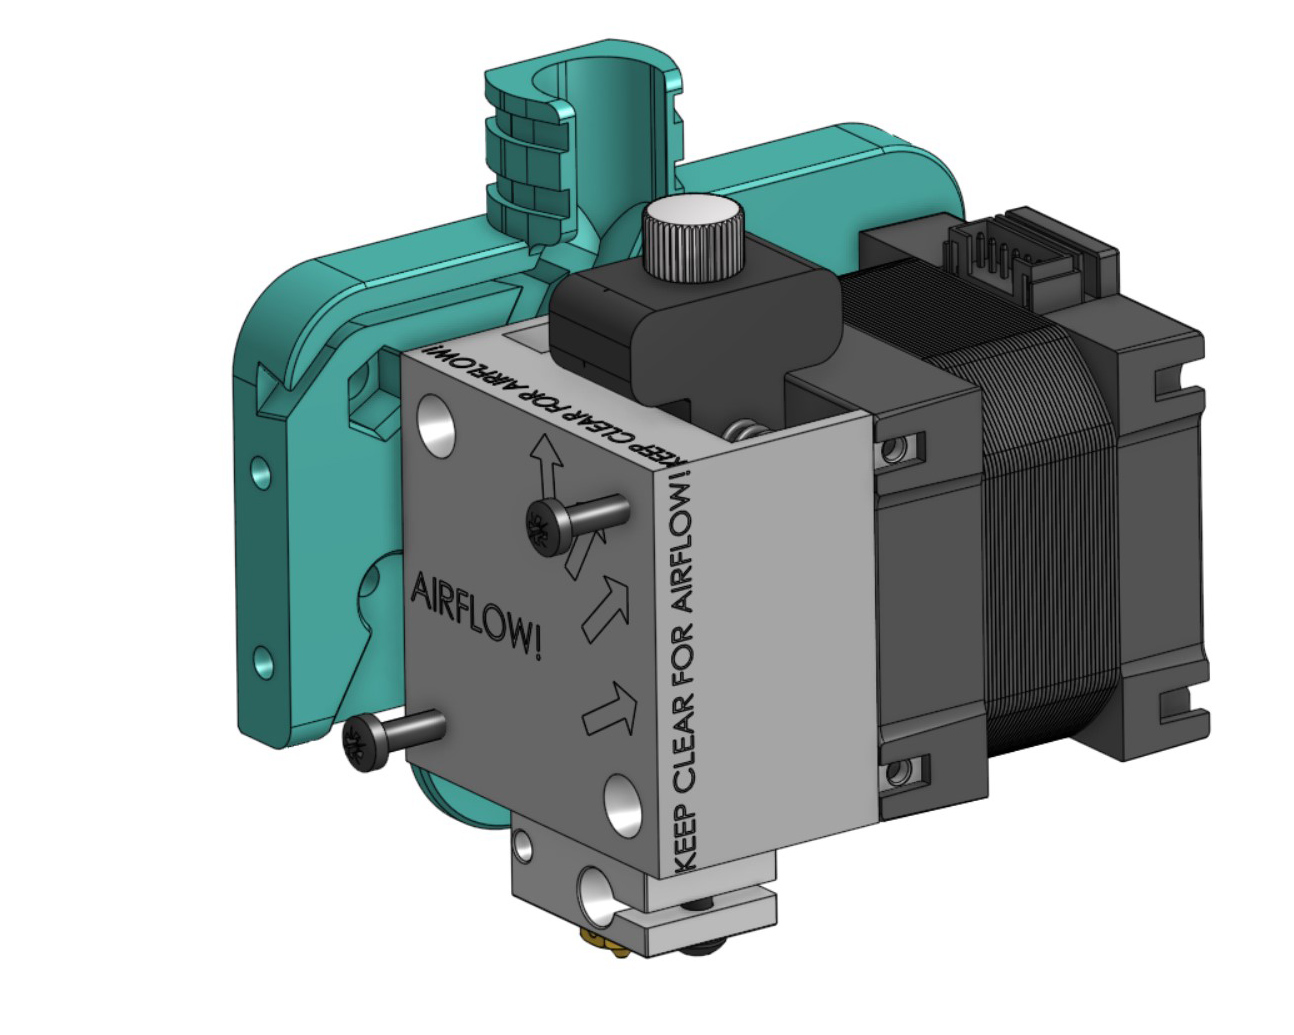
The Hemera Direct-Drive hotend/extruder from E3D is a top-of-the line hotend! That is… if you can find a way to mount it rigidly to your printer. After much searching, I could not find a mounting plate for the CR-10 that was rigid enough and sufficiently modular for my tastes. Thus, the Teebert Industries Hemera Mount was born!
Pre-Build Notes
This project came about because I tried to use the mounting plate from E3D’s CR-10 Upgrade guide (Version 1), but their design has a critical flaw: The mounting plate is extremely compliant due to how far the Hemera ends up hanging over the side of the CR-10’s original X-carriage. This ends up producing horrible prints because the height of the nozzle is extremely inconsistent (squishing layers randomly all the time), and any acceleration causes vibrations in the nozzle.
I then searched for more mounting options. First I looked at Version 2 of E3D’s upgrade guide for the CR-10 and Ender 3, but this very sparse mount still looks too compliant. I also found several designs online while scouring Thingiverse and PrisaPrinters, but nothing really seemed refined enough. The closest thing to what I was looking for was this plate by Aaen on PrusaPrinters, where the Hemera is mounted firmly to the plate with most of the weight supported by the steel X-carriage. However, the attachment points to the X-carriage are very thin in this design (1 mm), and I am a fan of modality, so I’d prefer to make the BLTouch mount as a separate part.
Off-The-Shelf Hardware
This mount is designed to re-use most of the hardware from a standard CR-10 or Ender 3 X-carriage. However, there are a few fasteners you’ll need to scrounge up:
- 5x M3 x 8mm screws (4 of these come with the Hemera)
- 4x M3 square nuts (2 of these come with the Hemera)
- 2x M3 x 6mm screws (for the BLTouch mount)
- A Few M3 washers
- 1x M5 washer
- 40mm length of cable wrap.
- 2x Zip ties
Additionally, if you choose to use the fan duct provided by E3D for the part cooling fan, you will also need a 5015 Blower fan that runs at the correct voltage for you system (12 V or 24 V), two M3 x 10mm Screws, and one M3x 20mm screw.
Printed Parts
There are a few printed parts you’ll need:
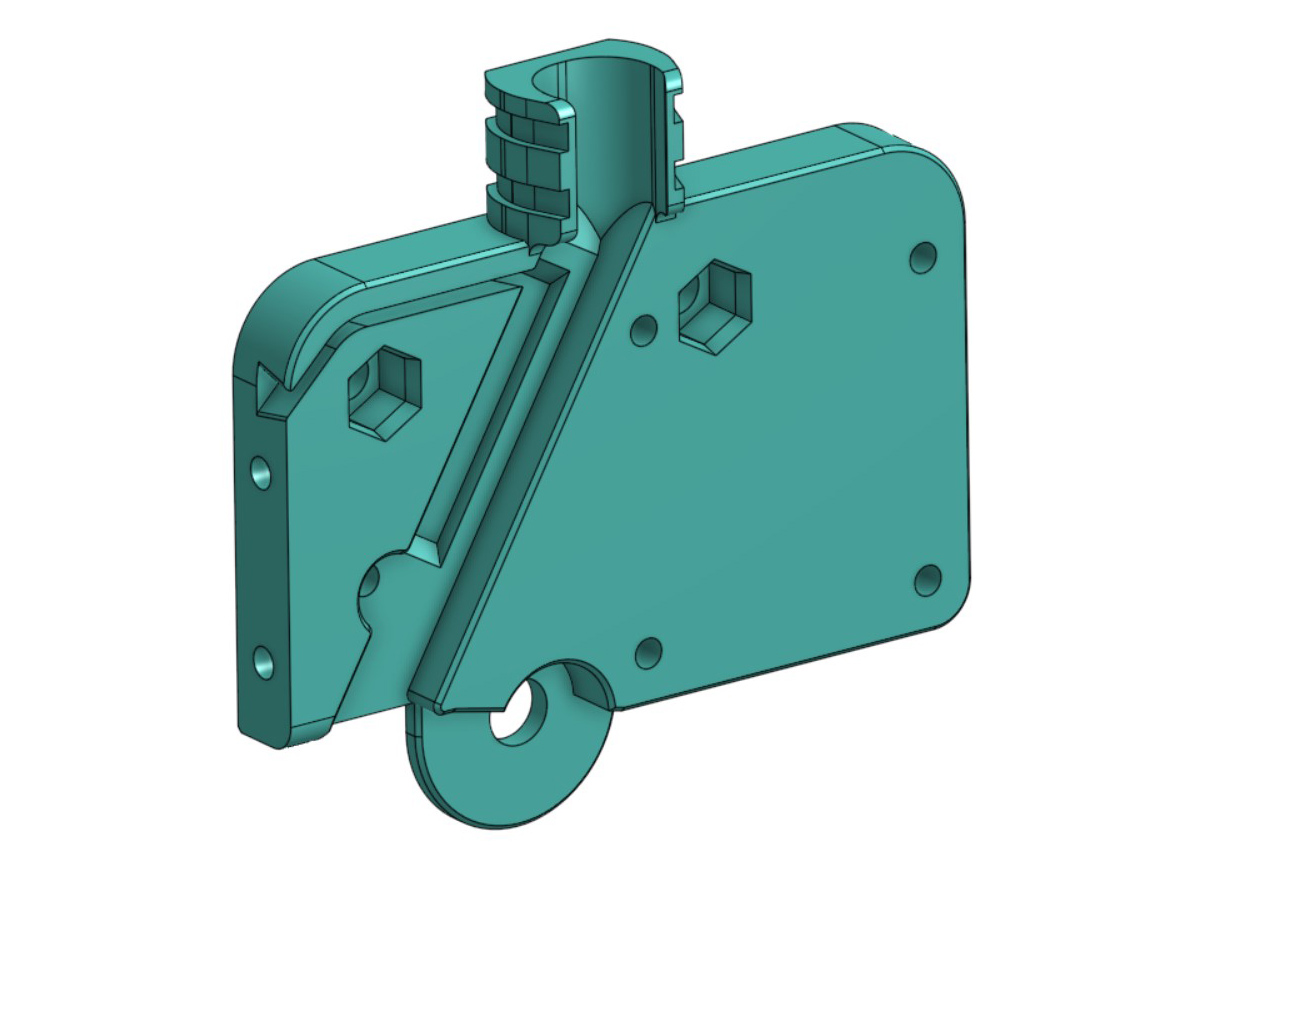
- Main mounting plate
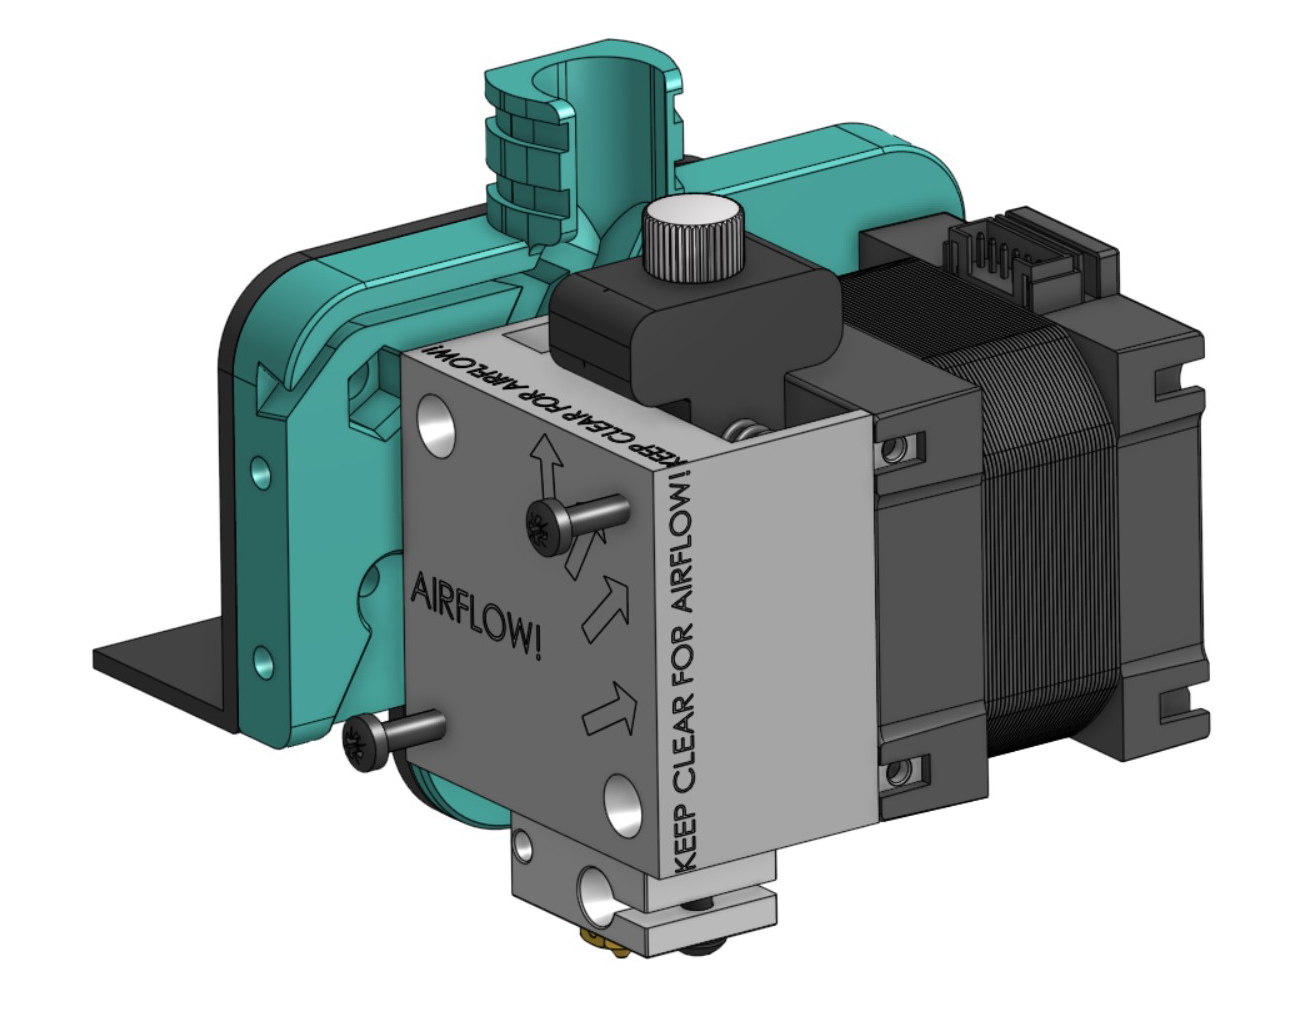
- BLTouch mount OR simple x-axis extension
- Your choice of part cooling fan duct. Many options exist for cooling ducts, but I prefer the “Ender_3_V2_Duct” provided by E3D in an only partially relevant tutorial
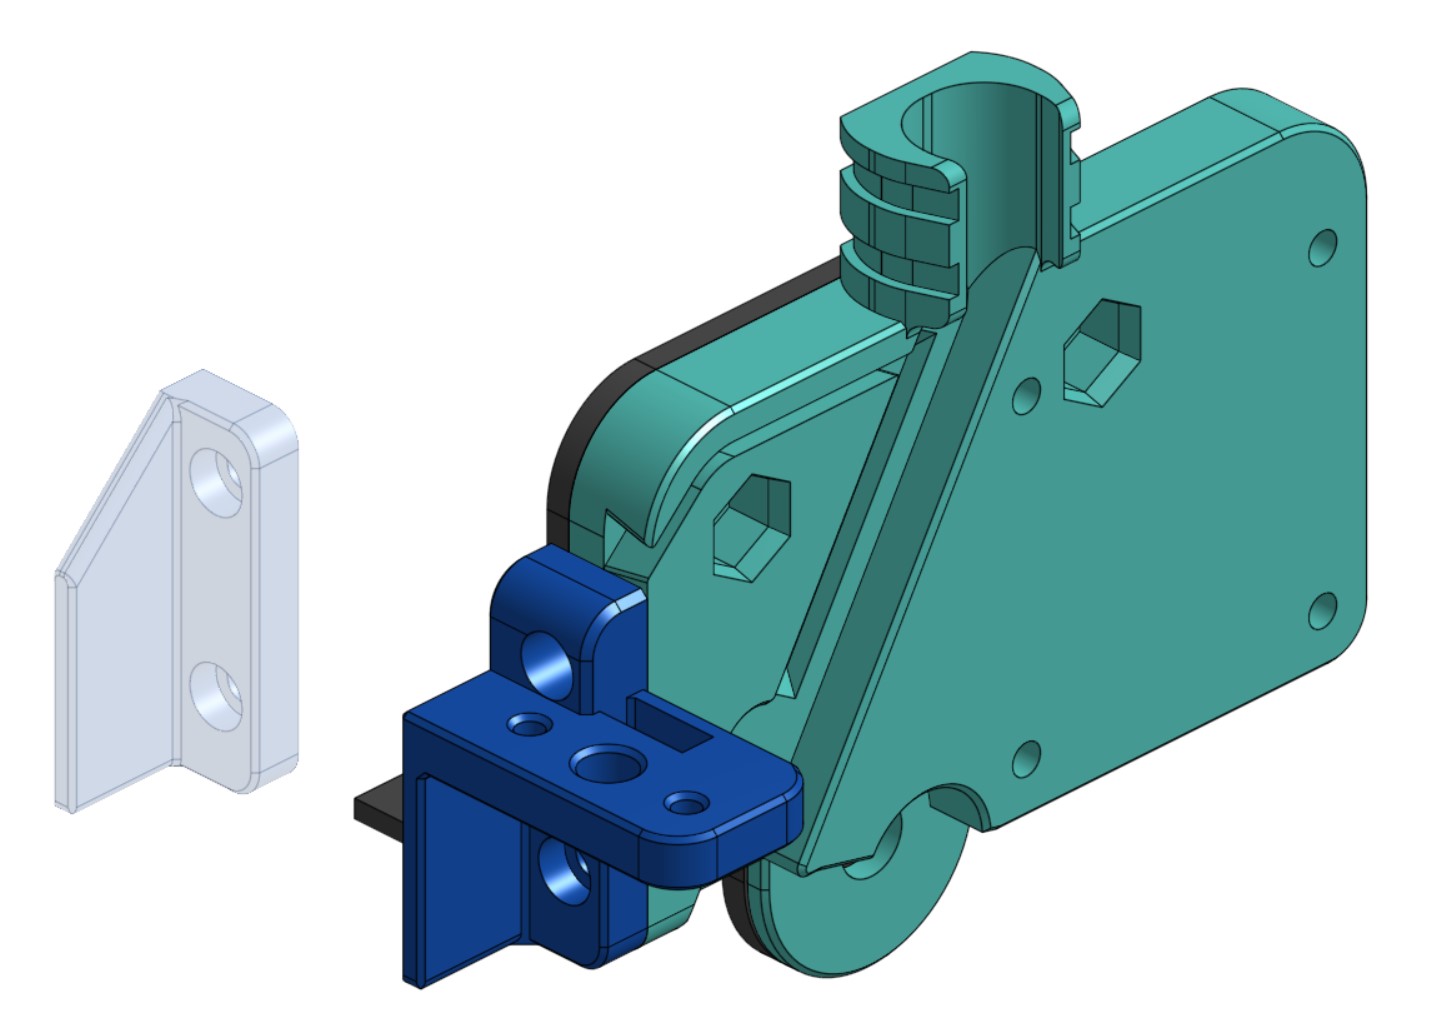
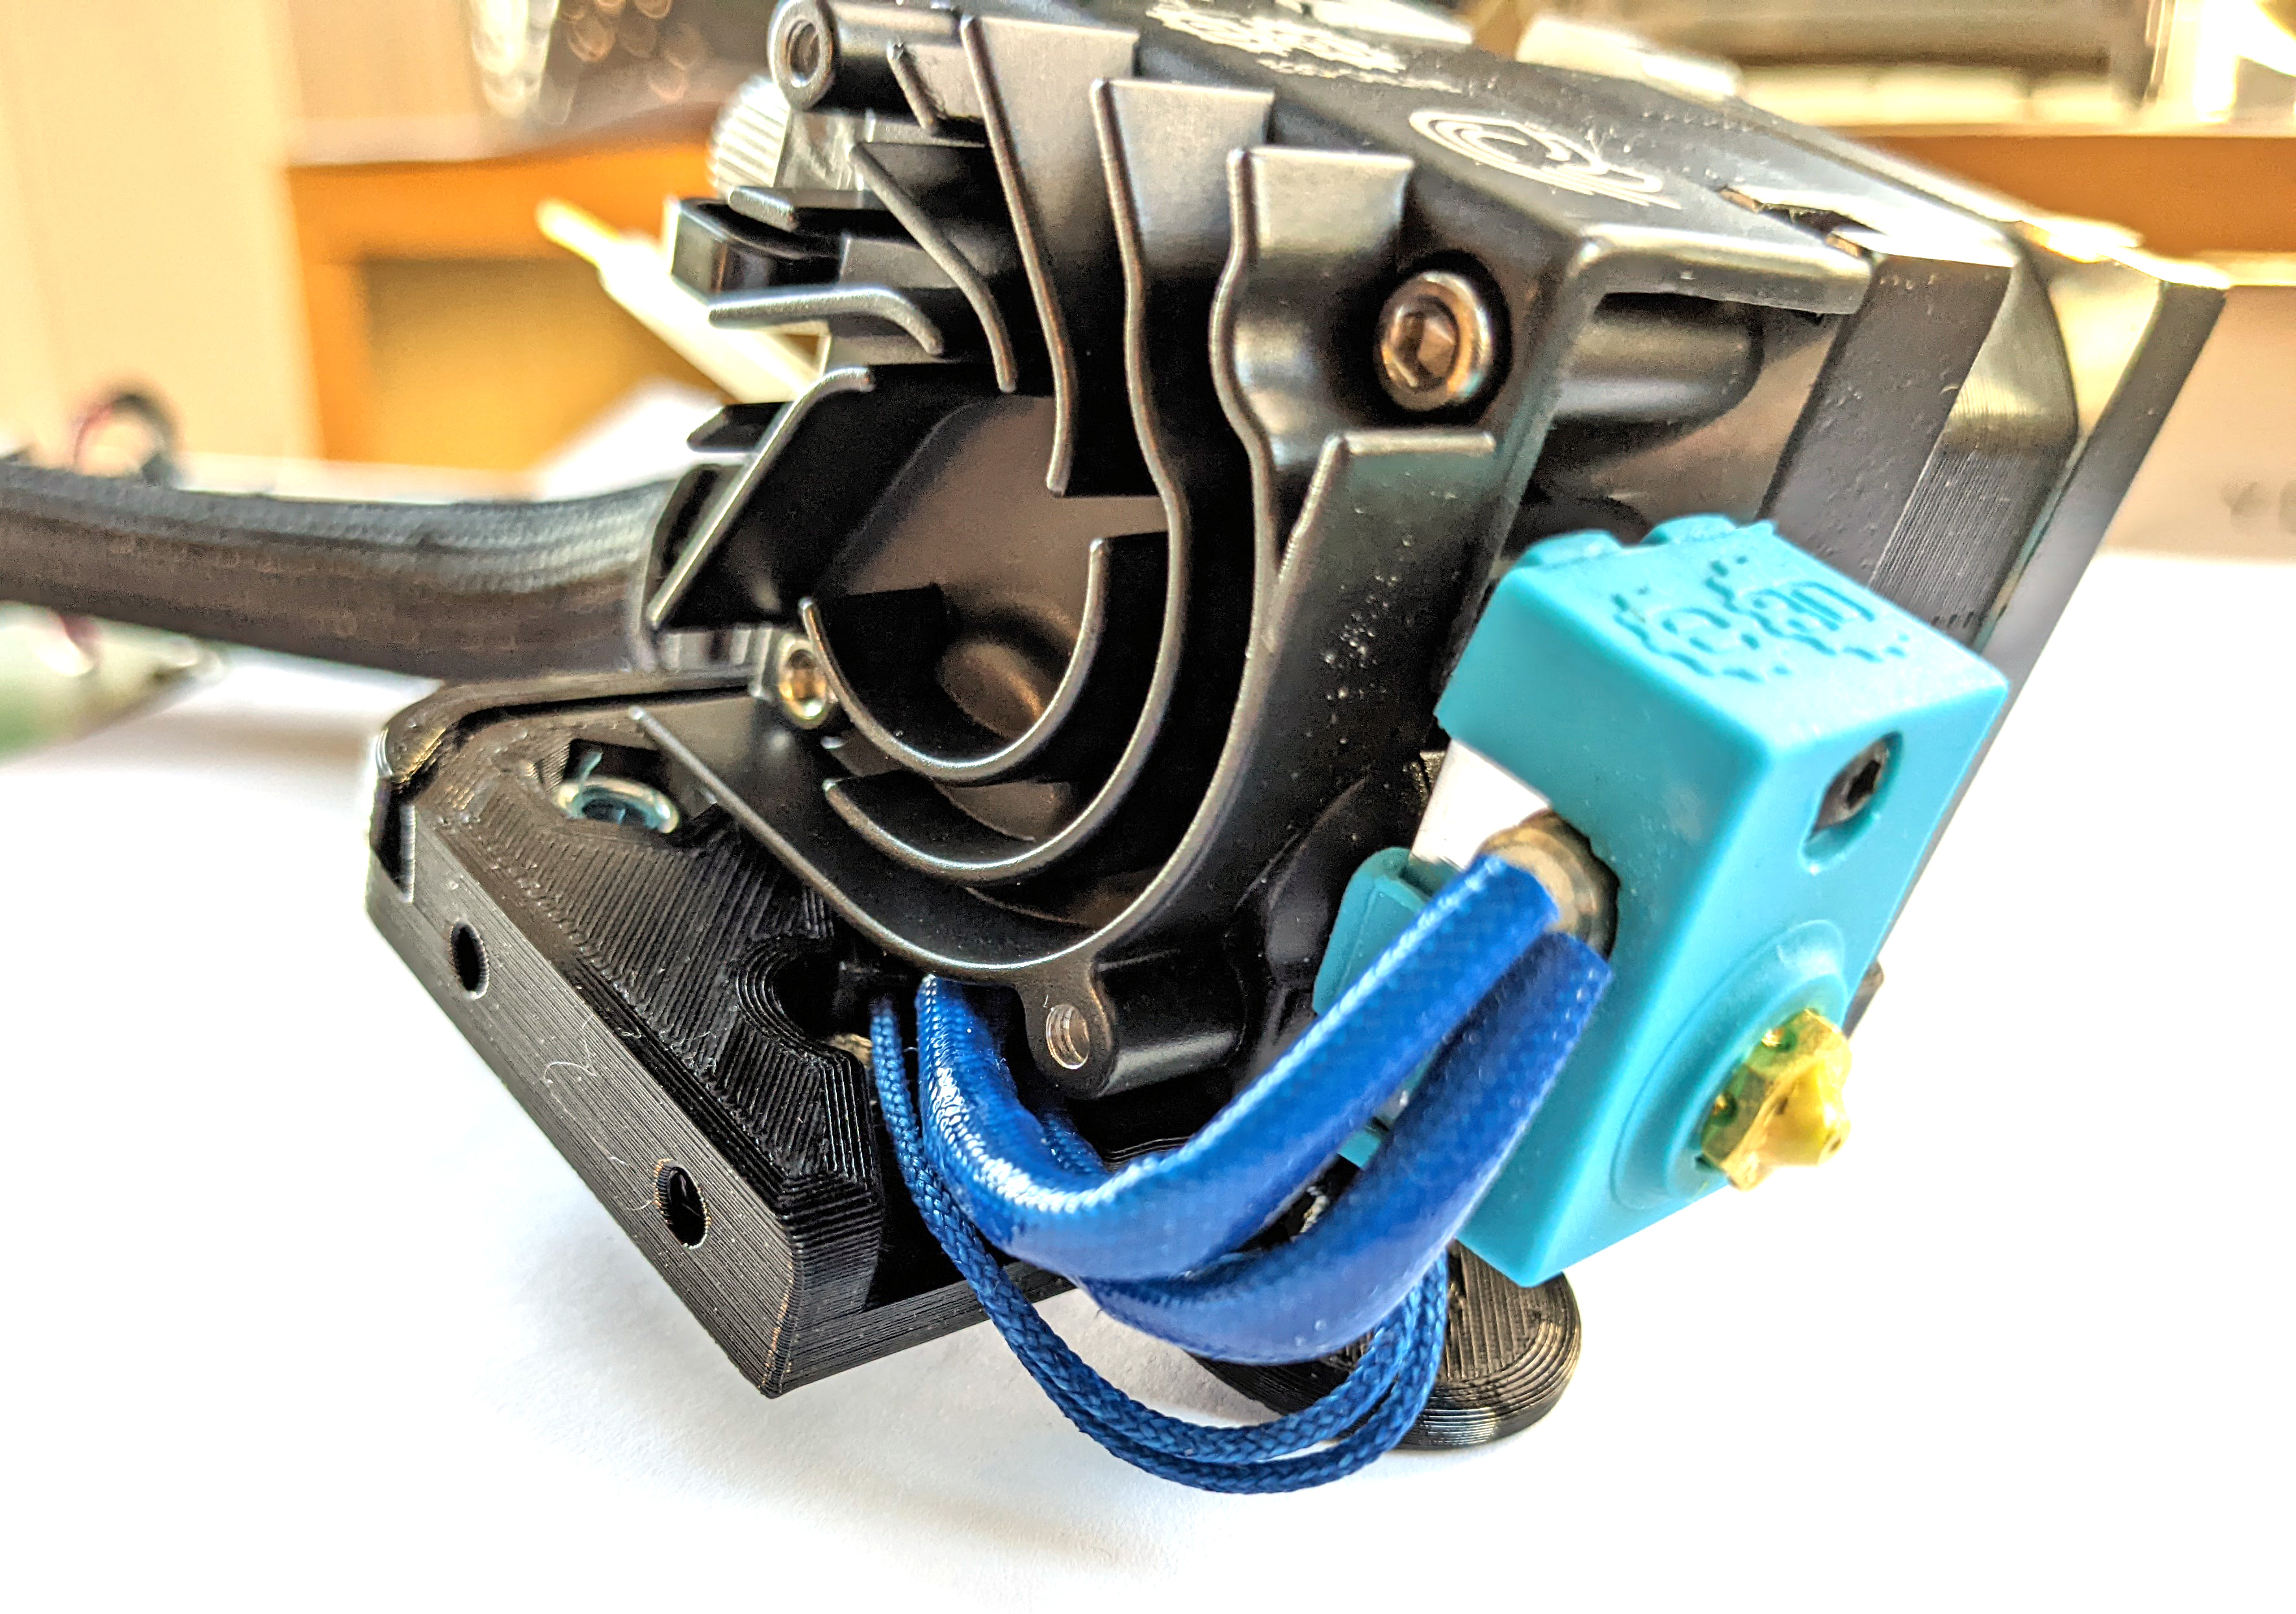
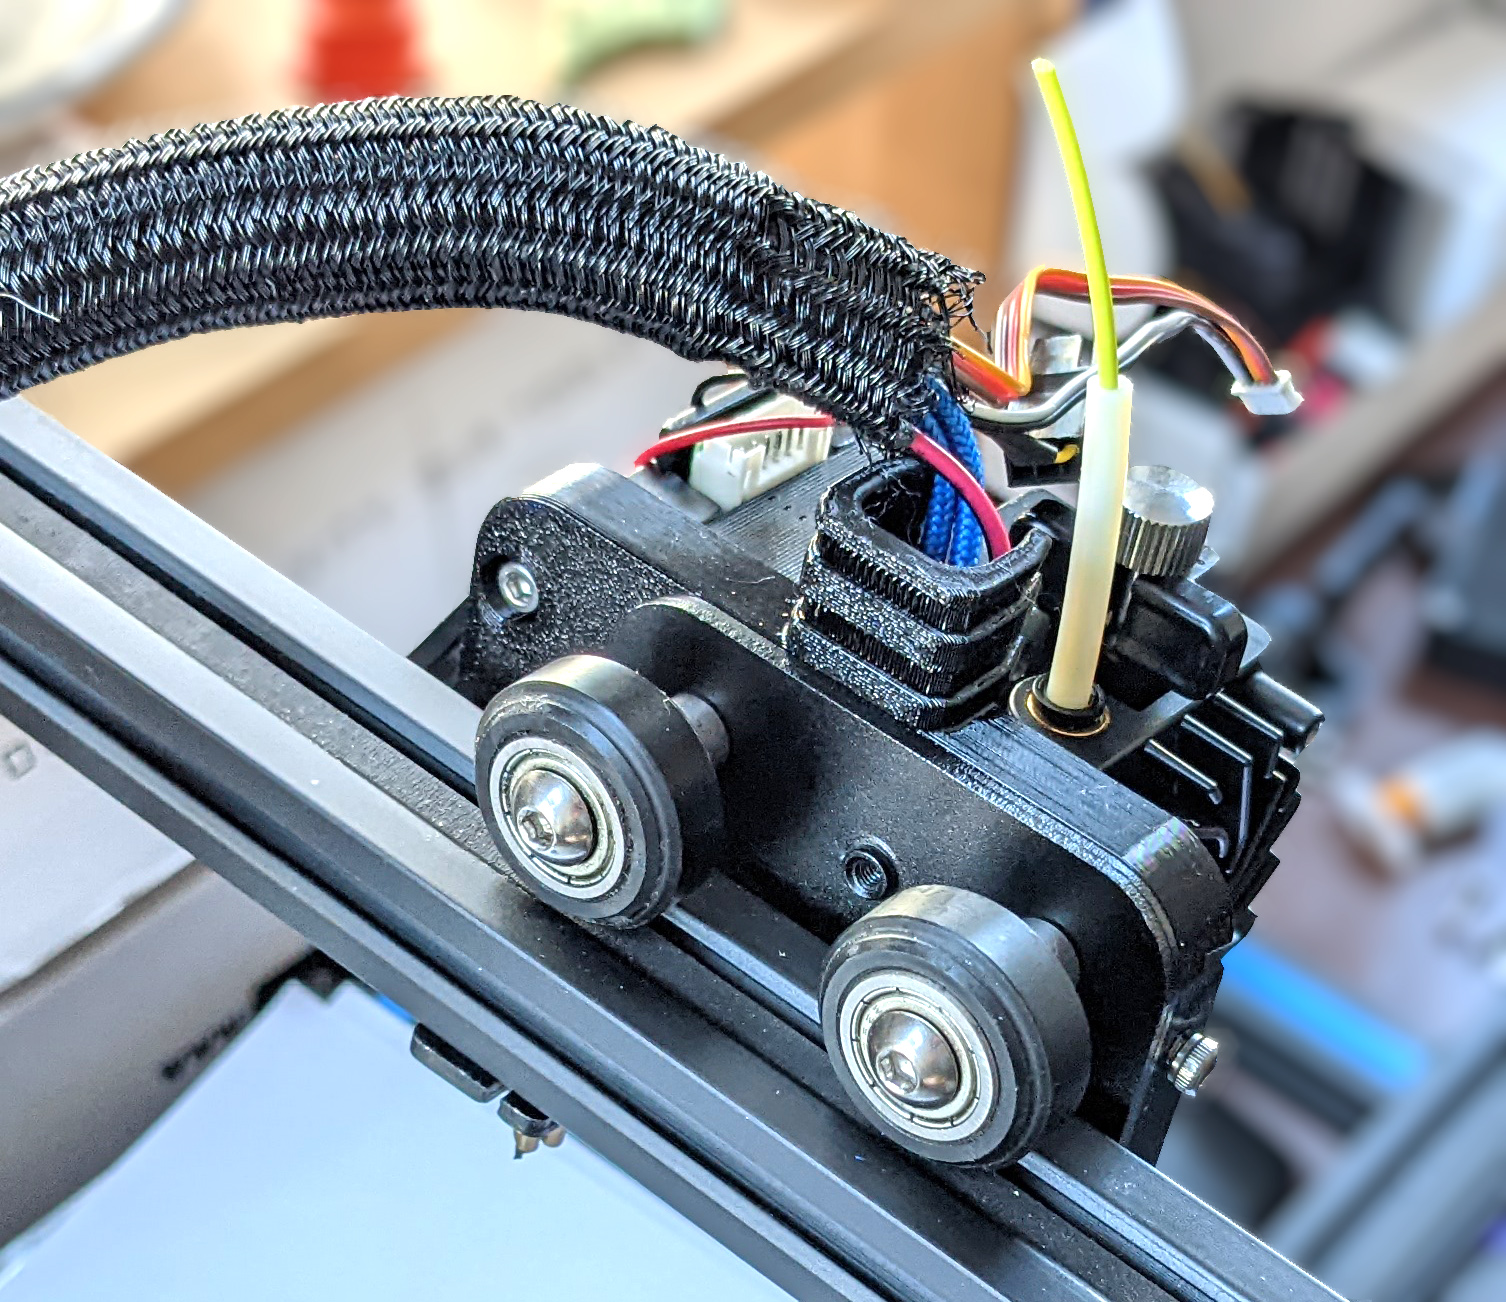
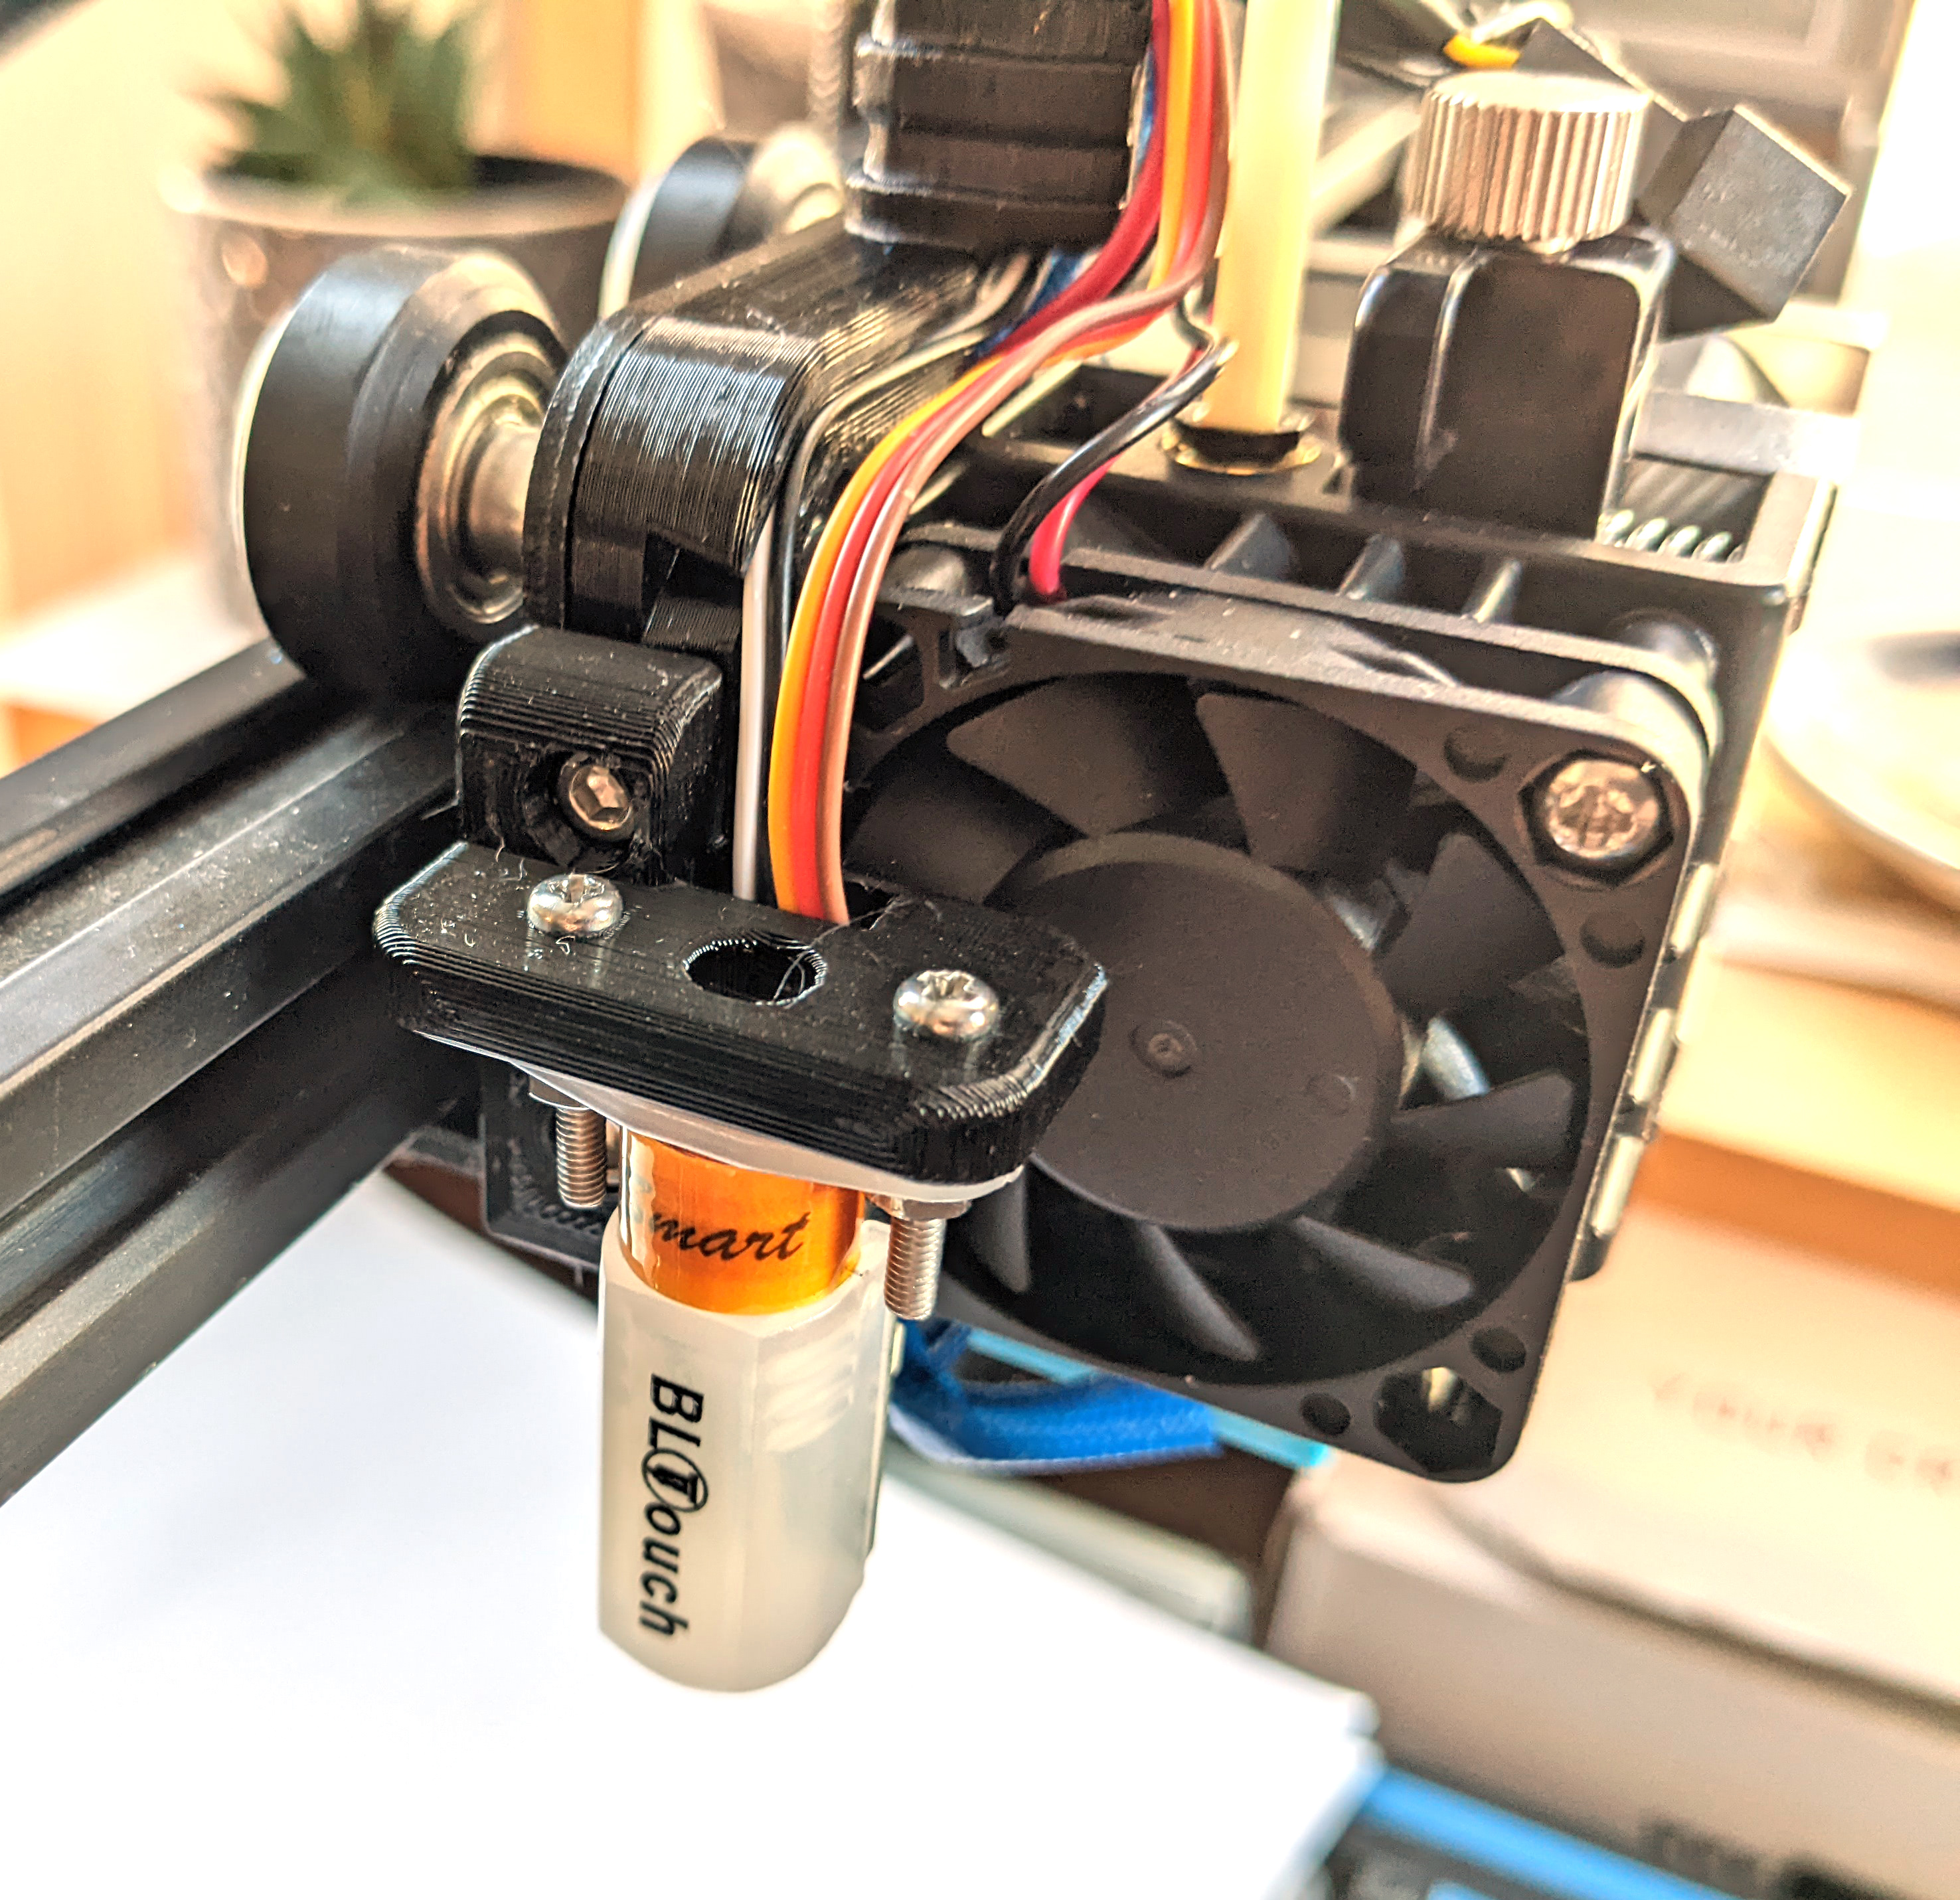
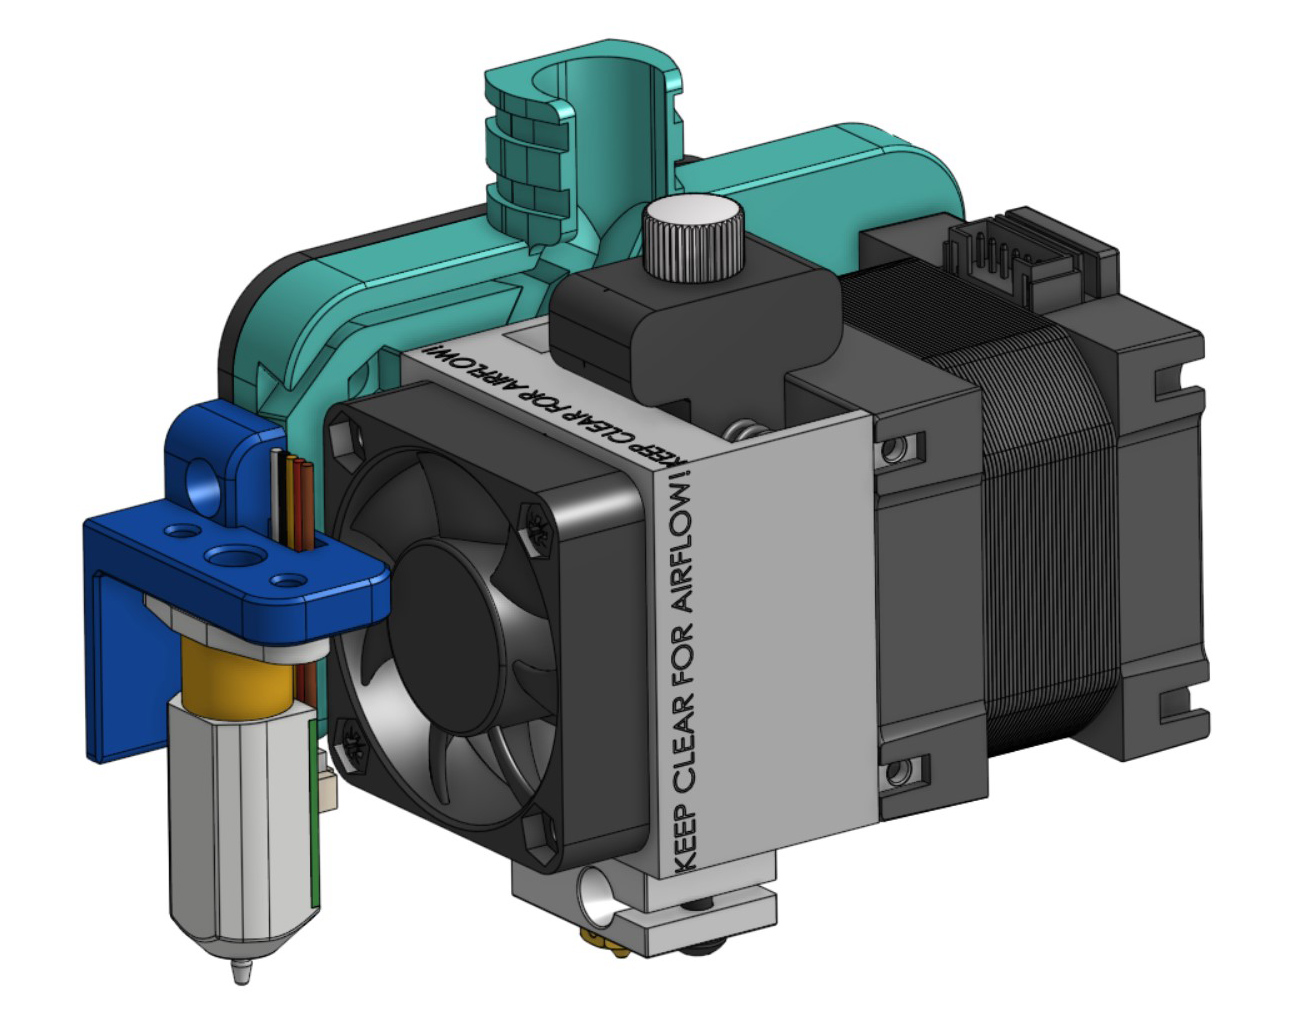
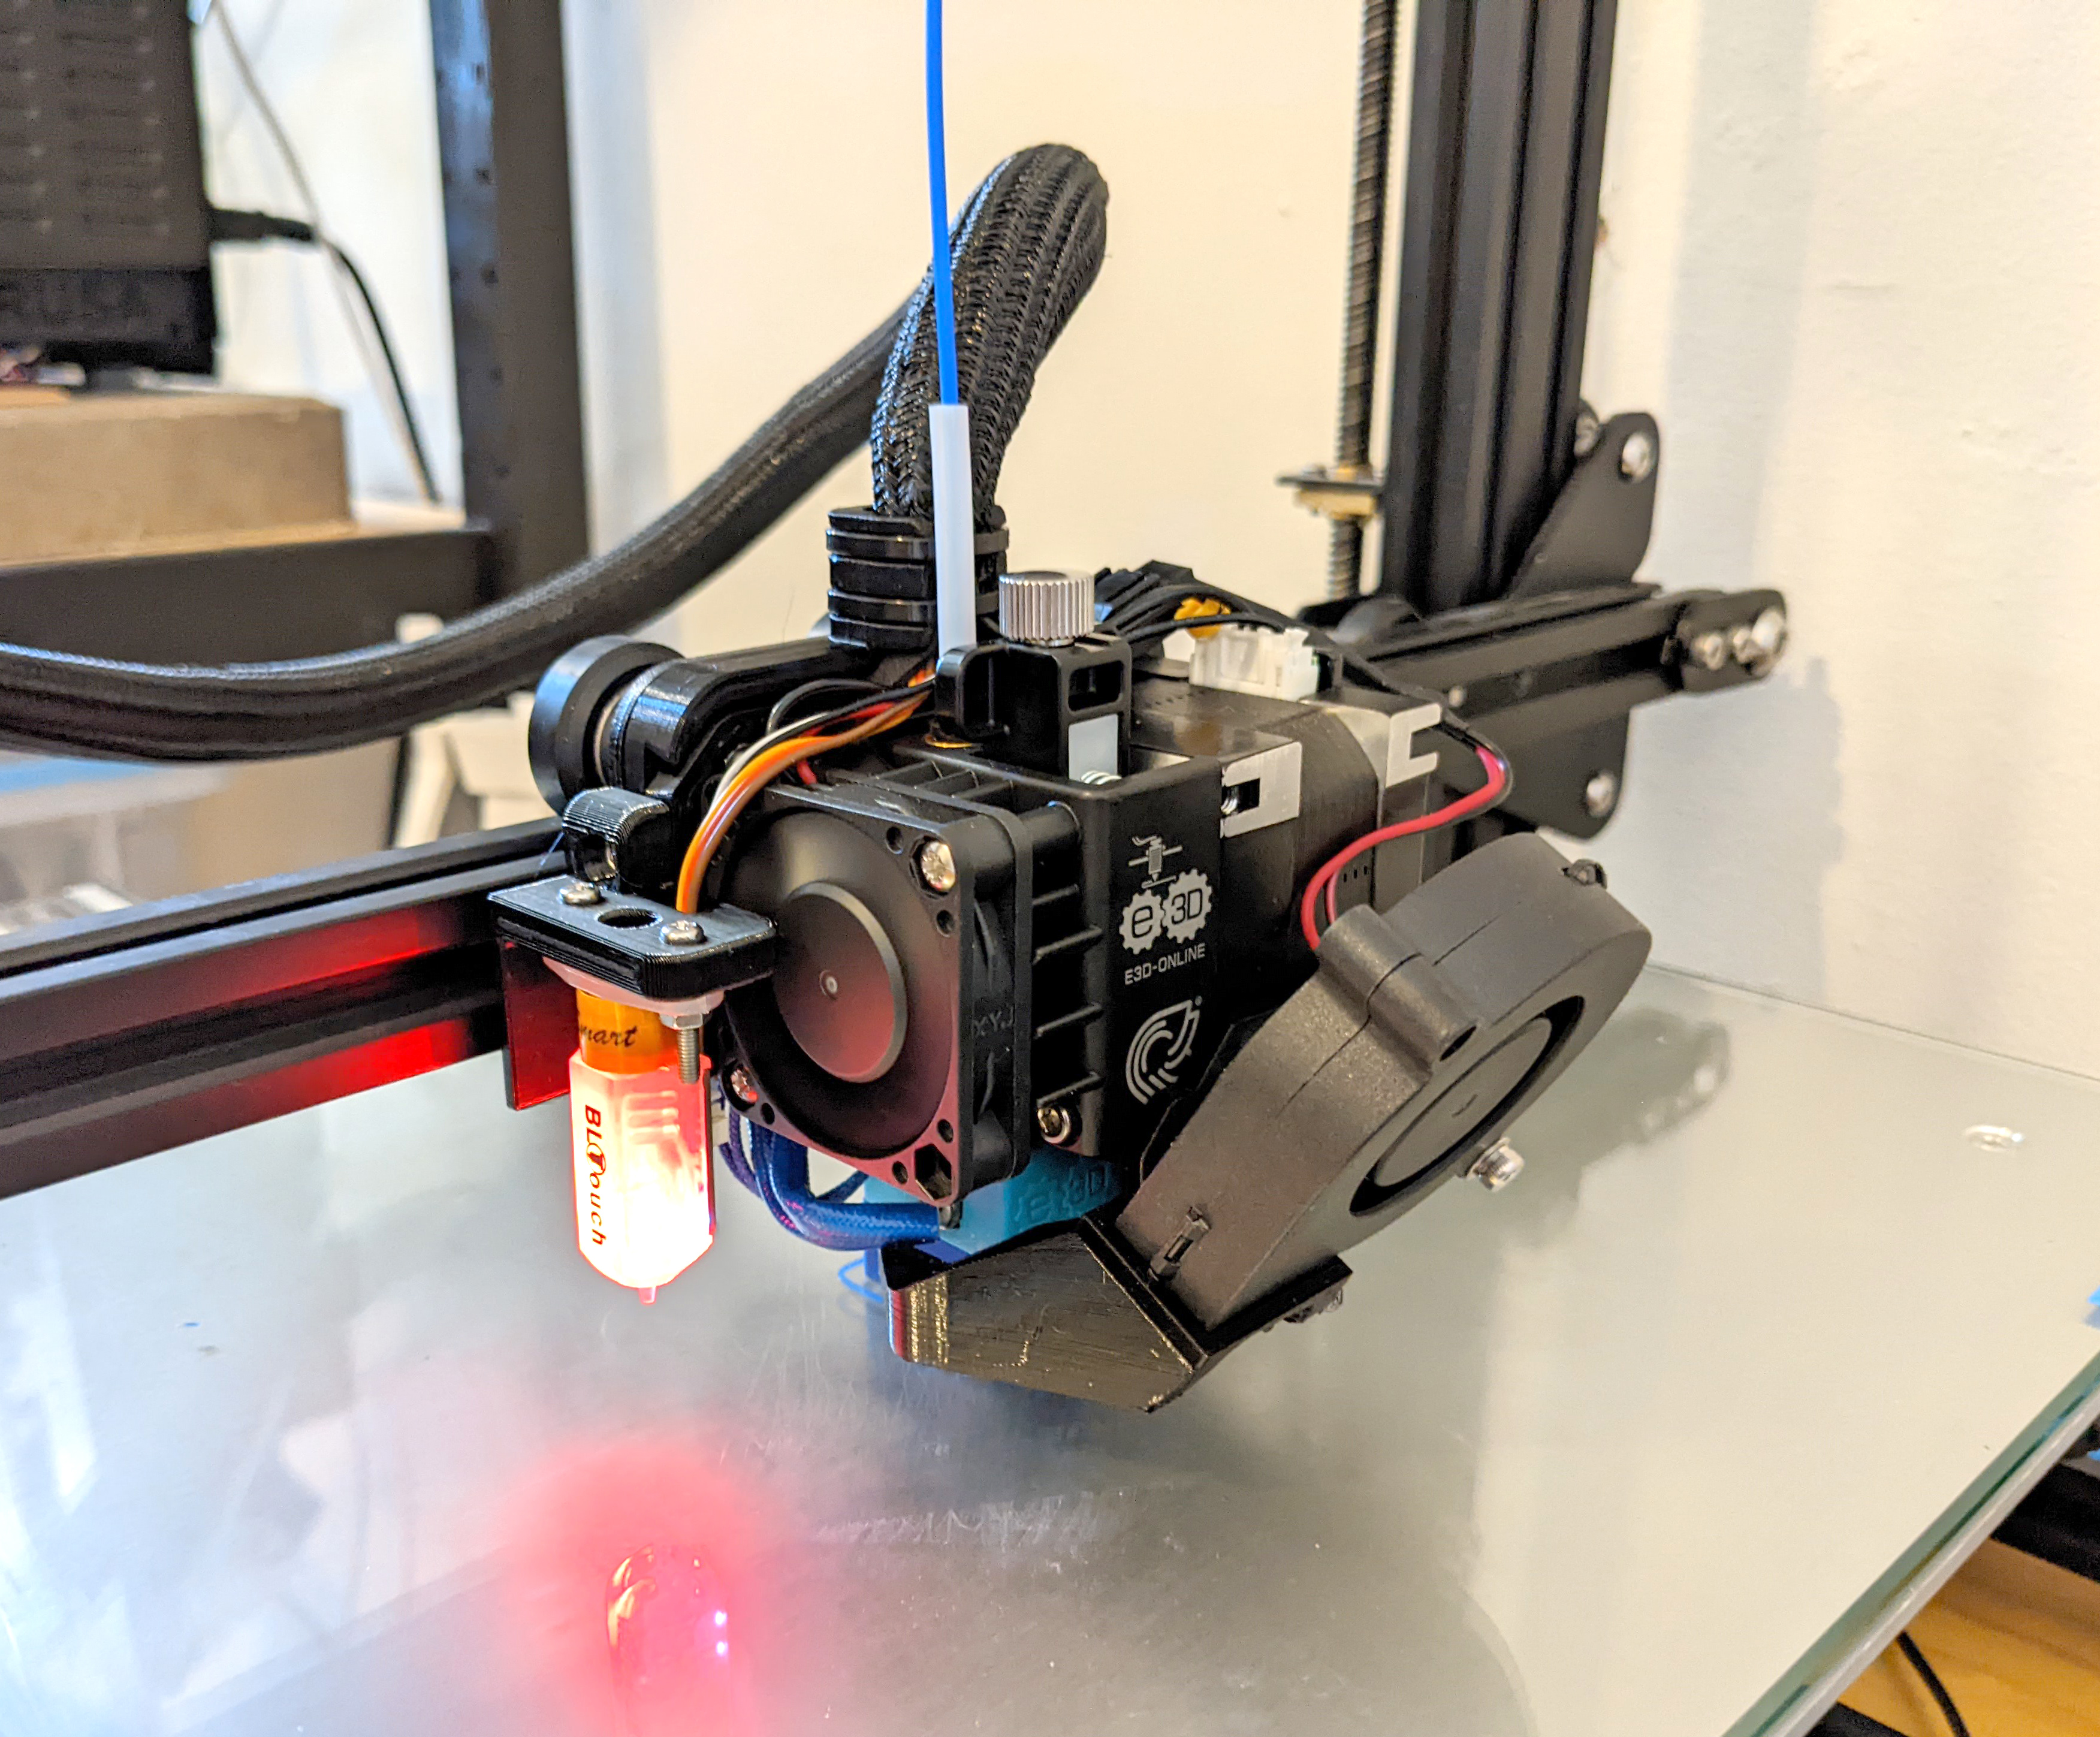
Assembly
The assembly process is relatively complex. Here are a smattering of images from the process. For in-depth instructions, see my writeup.