CR10s Upgrades (2021)
My Customizations
- Motor Drivers + Main Board
- Face Plate for RepRapDiscount LCD
- Firmware
- Direct Drive Extruder
- BL Touch
- Auto Extruder Fan
Motor Drivers + Main Board
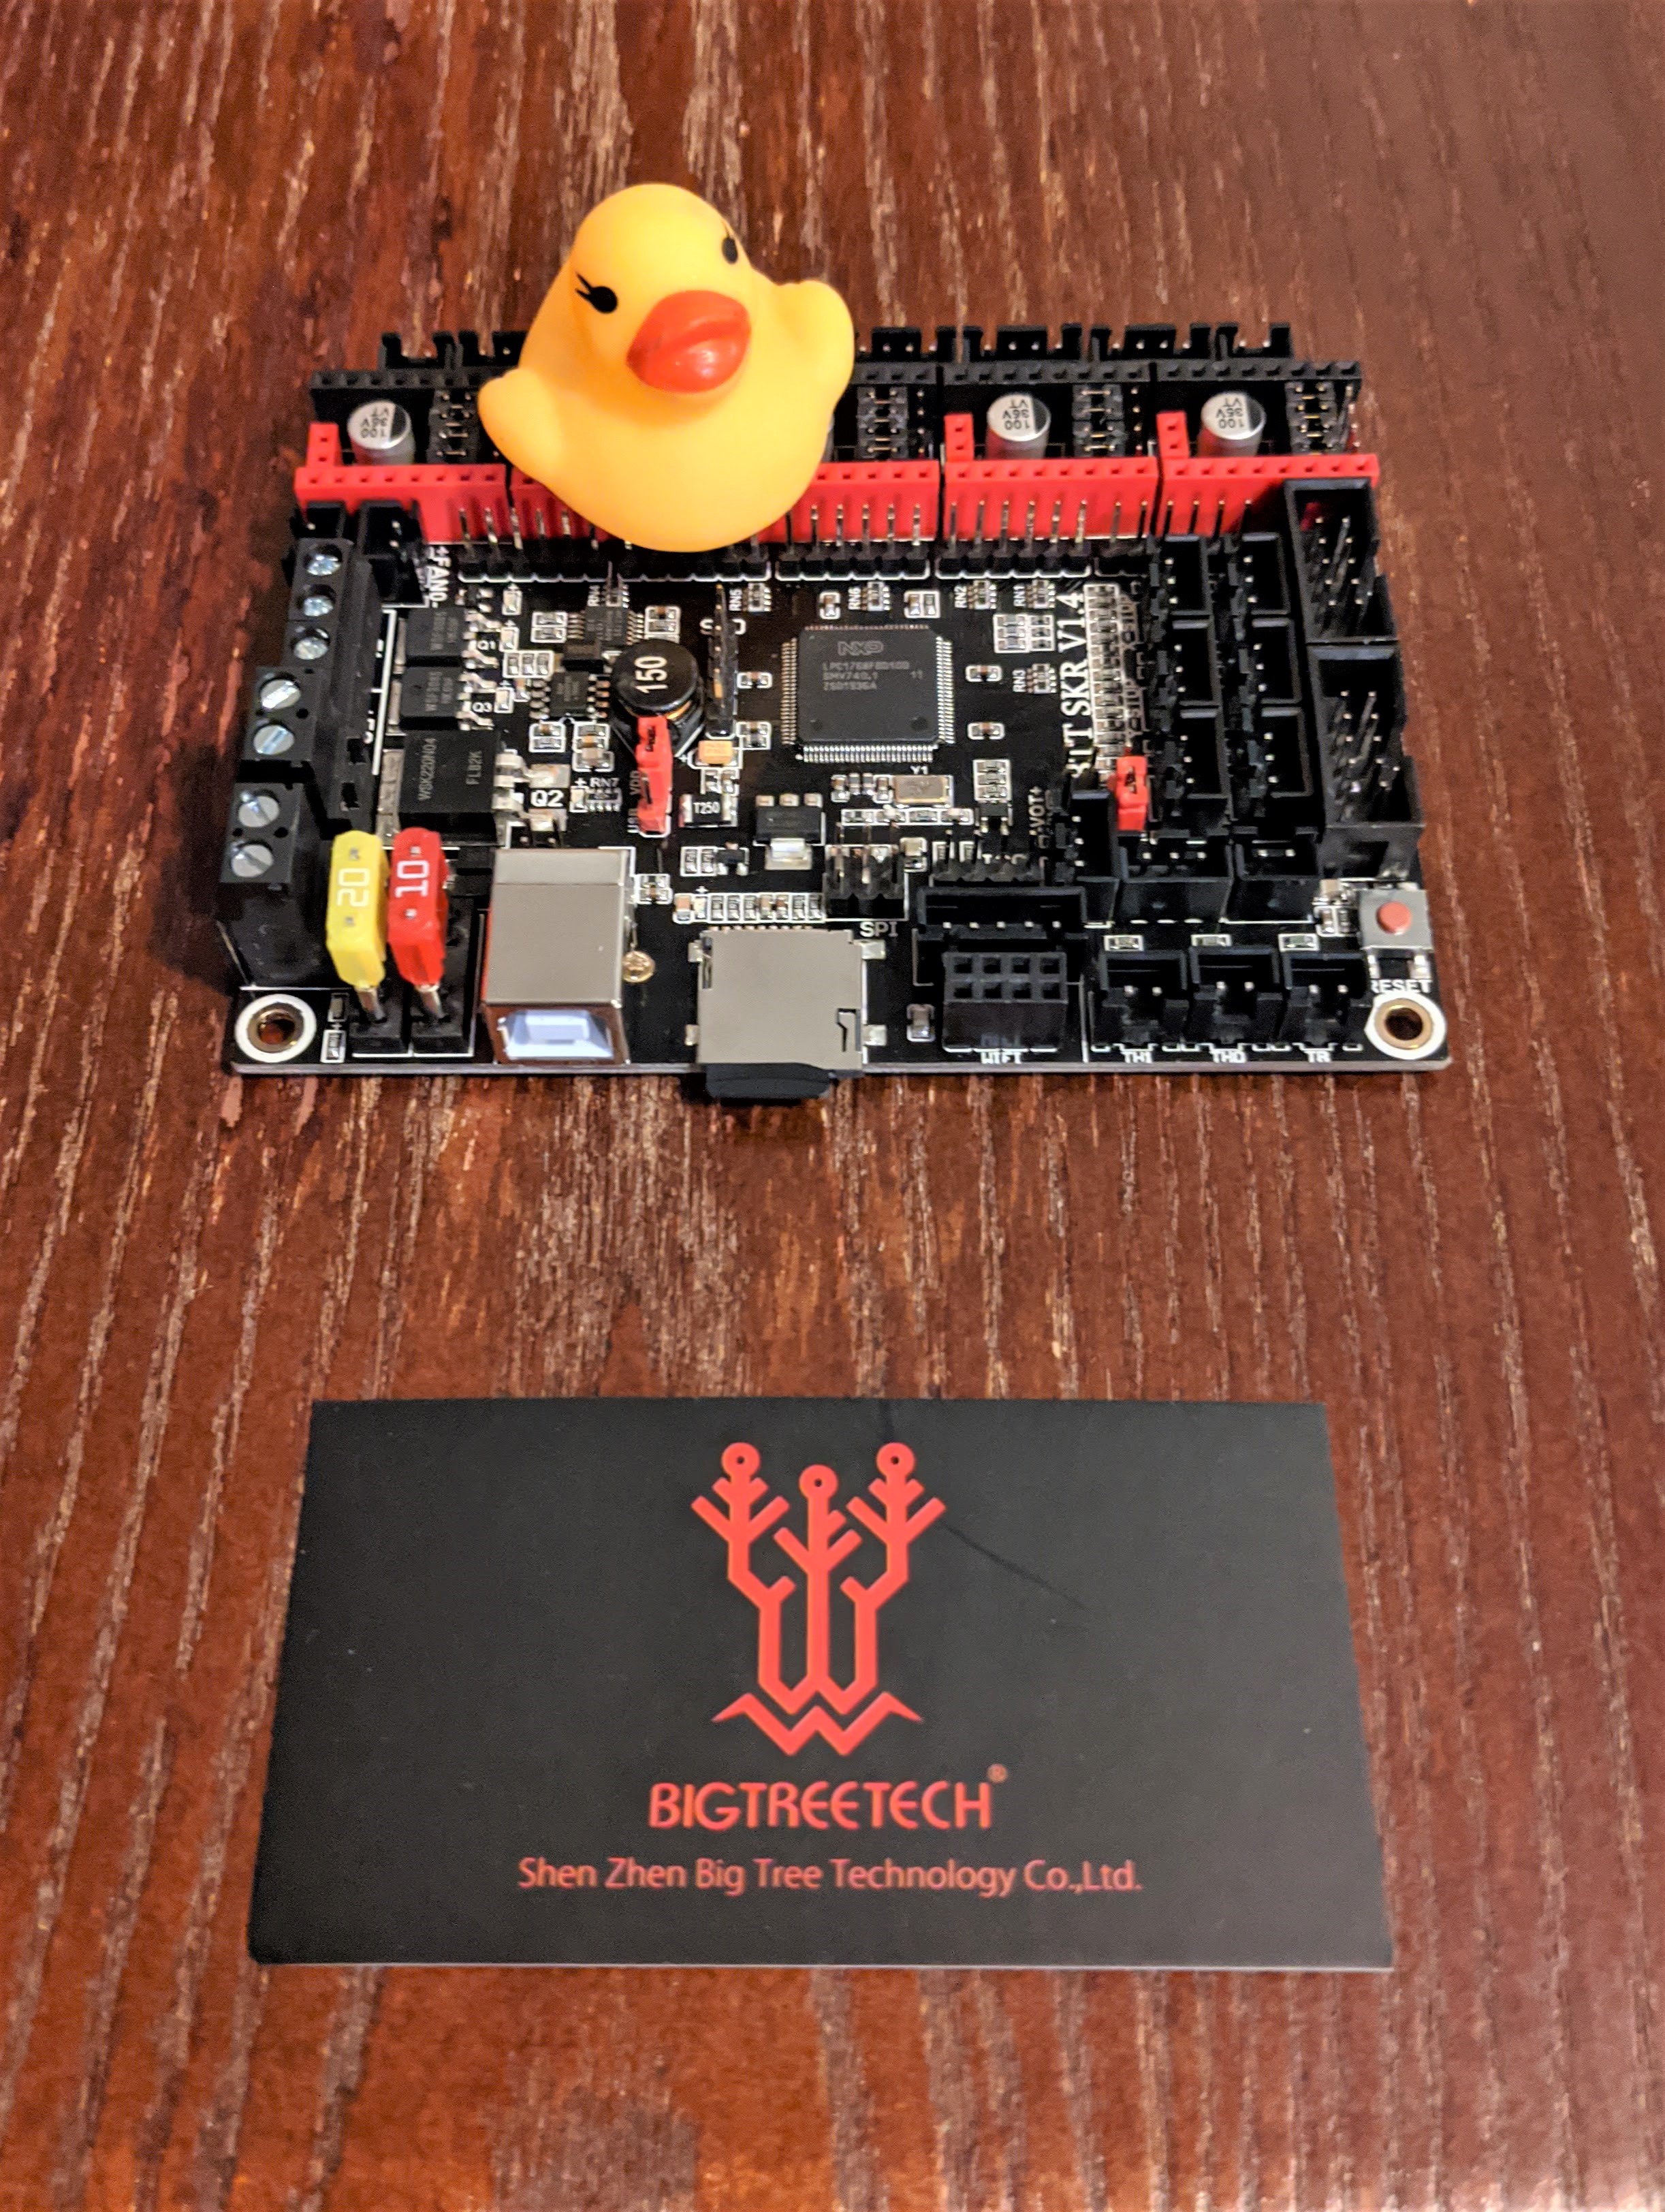
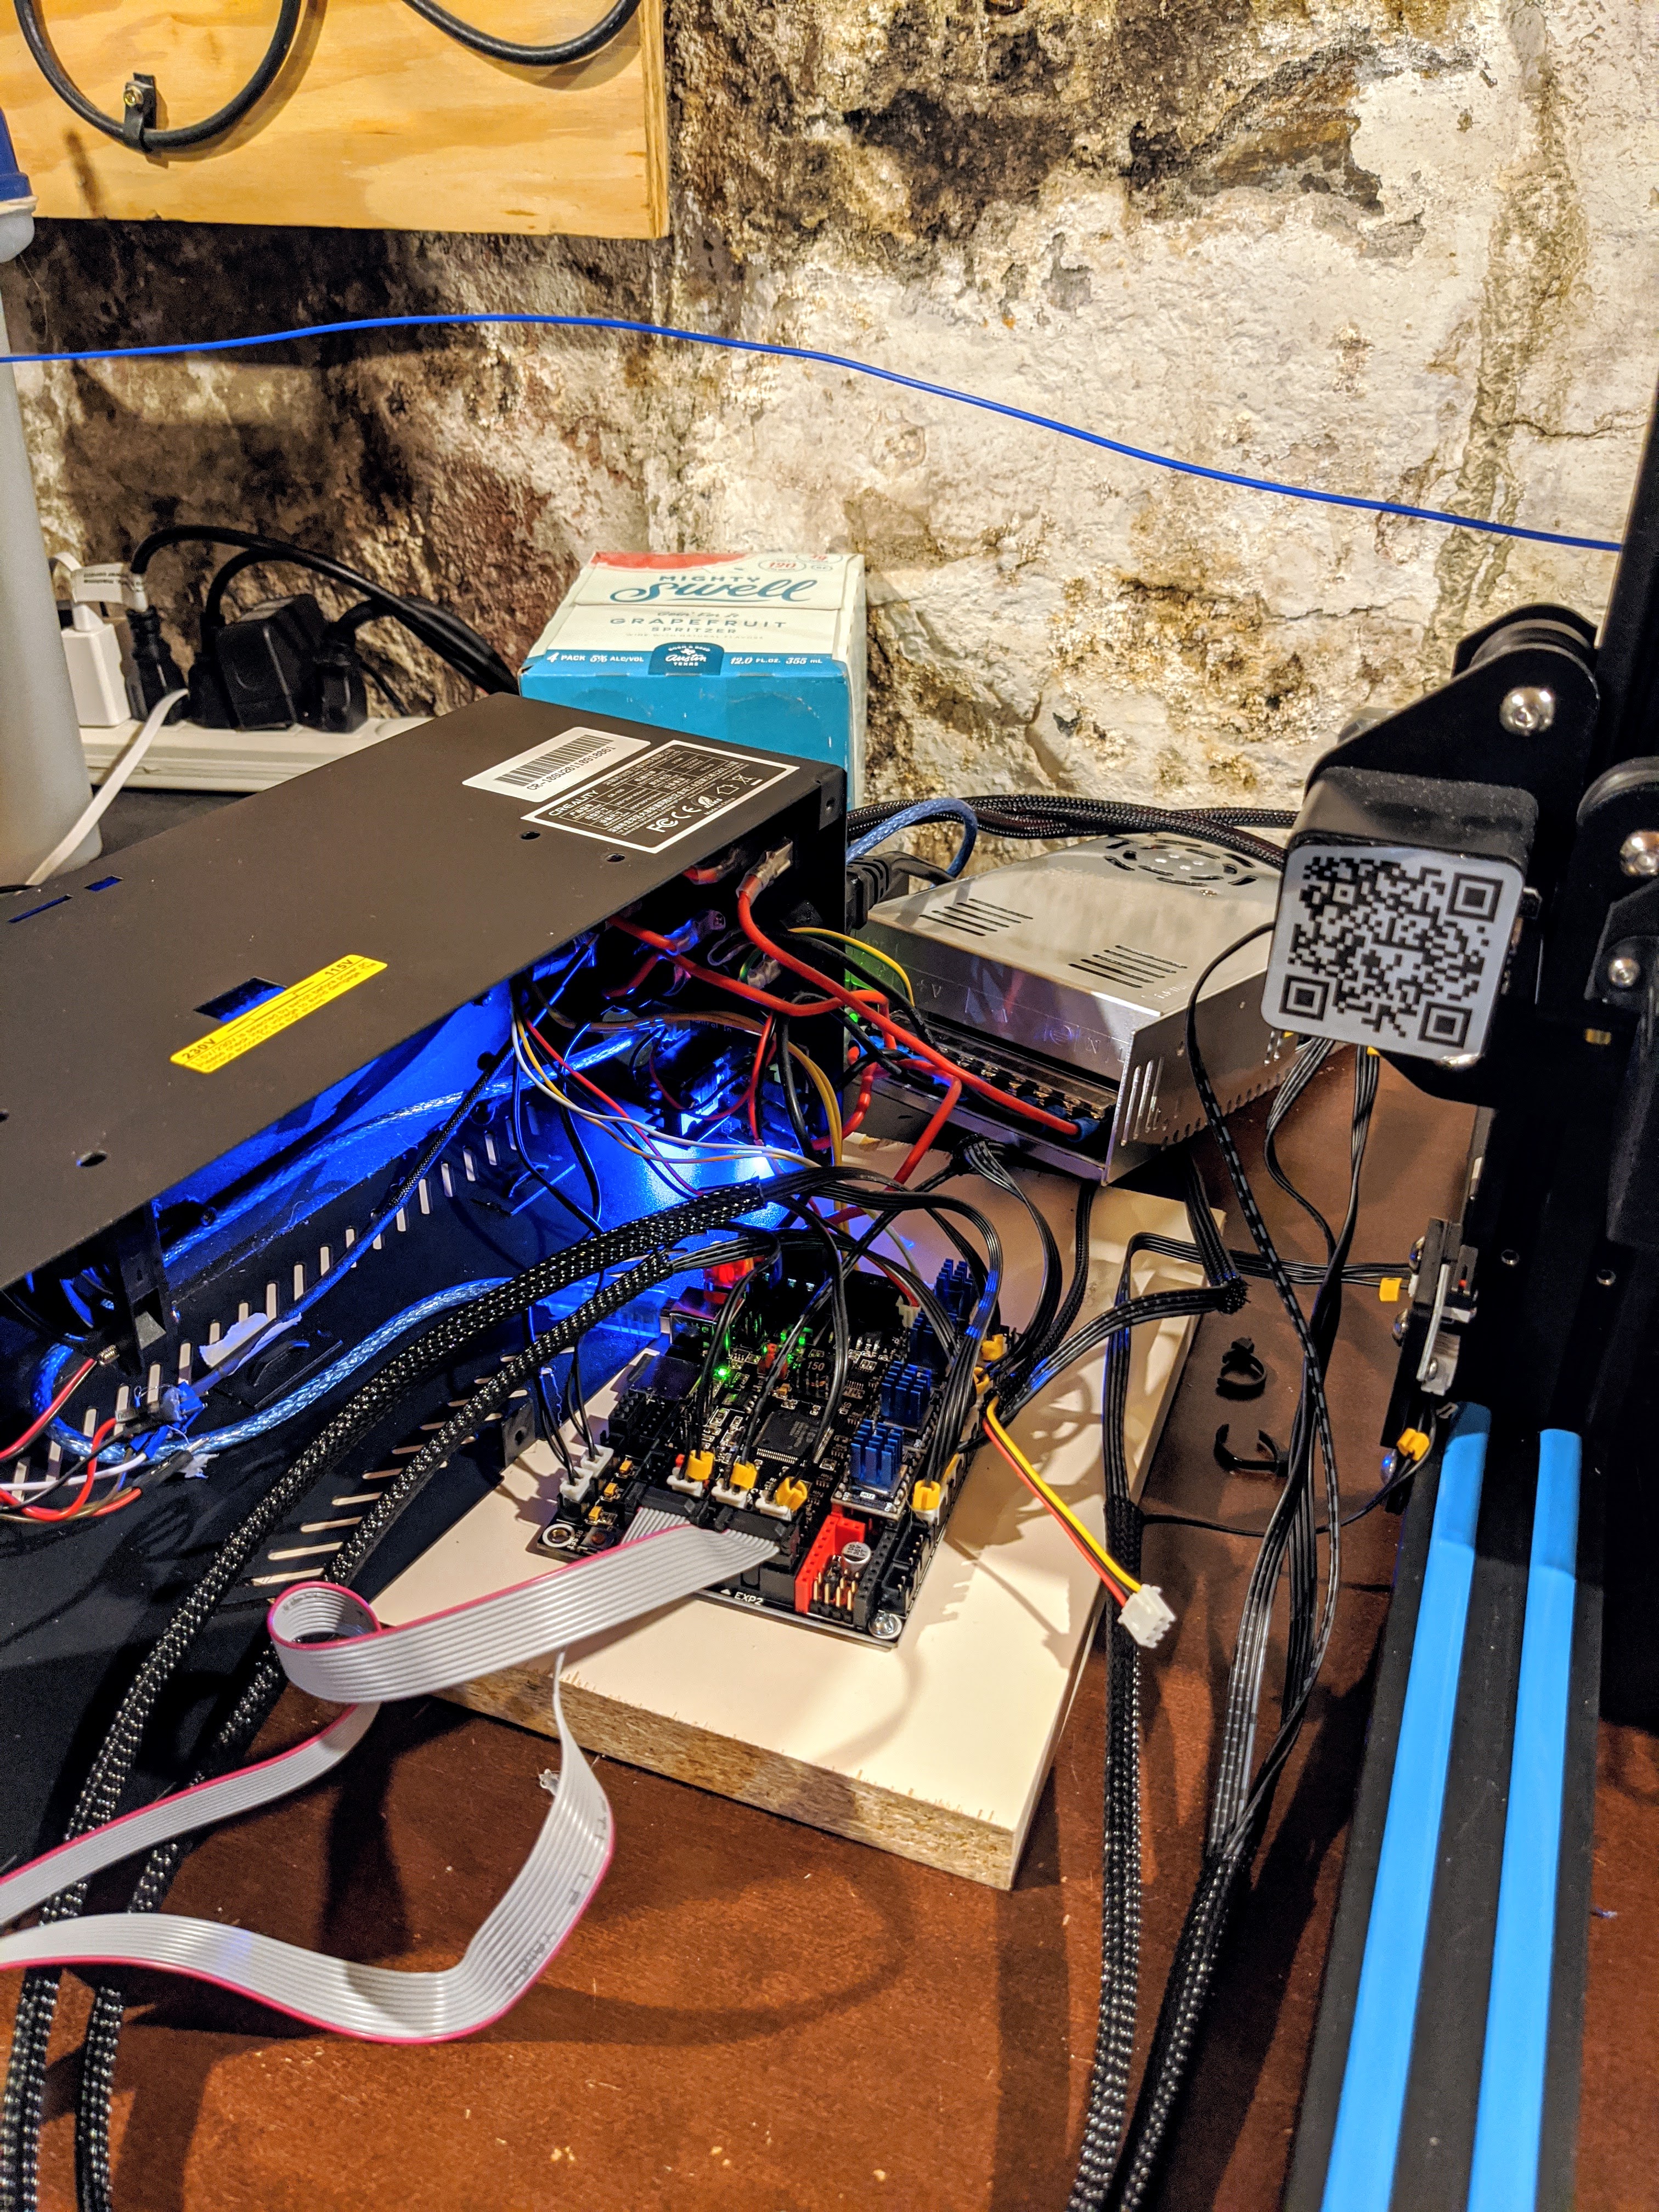
I was tired of how loud the CR10s is out of the box, so I figured I could quiet it down with some nice Trinamic motor drivers. However, Creality designed their own board for the CR10s with built-in motor drivers (pretty much the cheapest ones available). After playing around with an extra RAMPS 1.4 main board with an 8-bit Arduino Mega 2560 I had laying around, I decided to spring for a new 32-bit board (the SKR 1.4).
For super-quiet motors, I chose the TMC2208 stepper driver package from Trinamic because of its simple 1-wire UART connection and native 256 microstepping capabilities. I bought the driver boards from BigTreeTech, and The SKR 1.4 board already has internal routing for UART (and SPI) to each of the motor driver sockets, so this was a breeze to set up.
However, replacing the board caused a new issue: the stock Creality LCD didn’t work with my new board. I had an extra Reprap Discount Full Graphic Screen that came with my extra RAMPS 1.4 board, but guess what: The holes in the stock CR10s case don’t quite line up with the new screen.
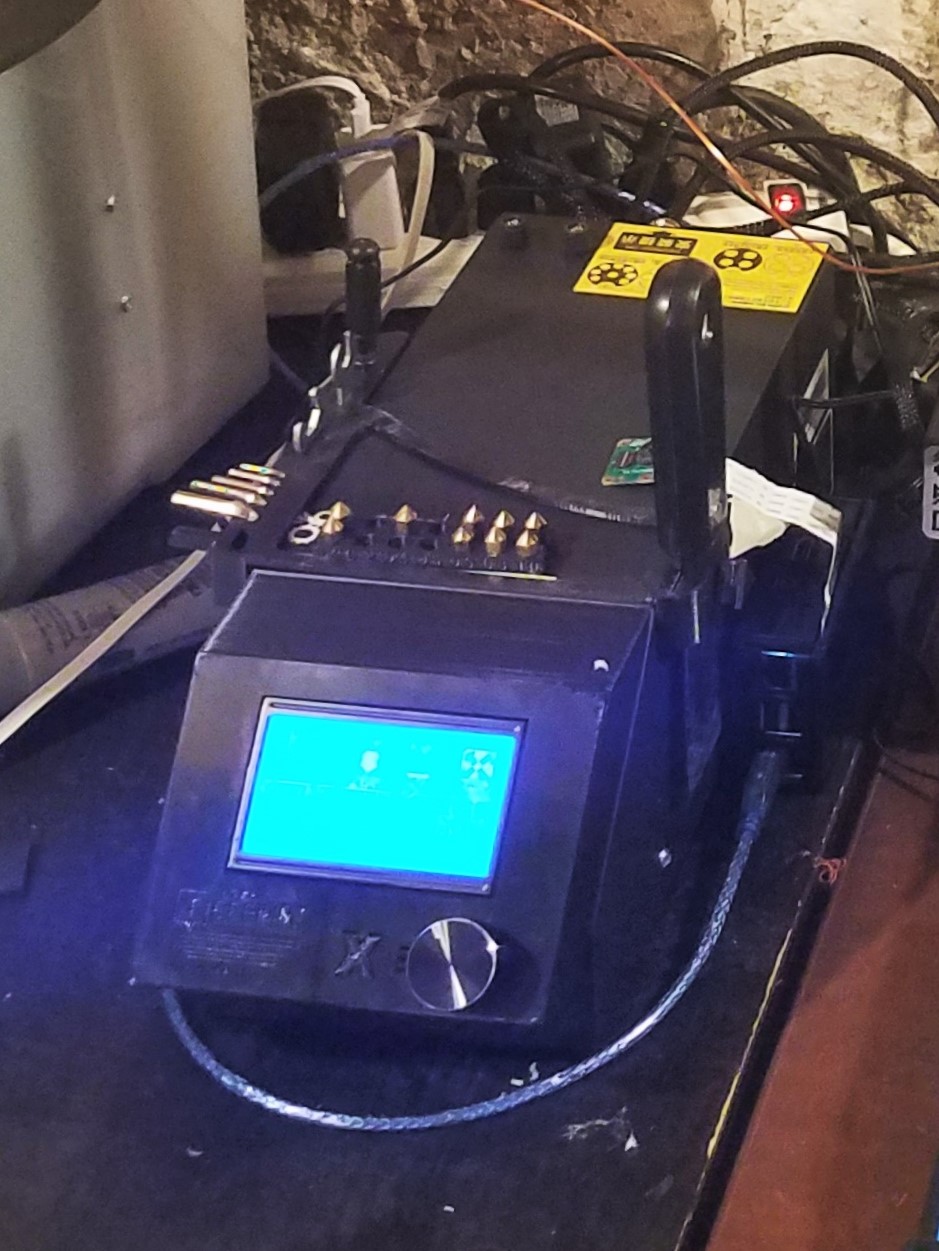
Face Plate for RepRapDiscount LCD
Since the new LCD didn’t fit, I needed to make a new face plate. I decided to design one that snaps into place in the old cutout where the LCD use to sit. You can find the part on Thingiverse
Firmware
Enable TMC2208 Drivers on the SKR 1.4
I followed the instructions for the SKR 1.4 by BigTreeTech to set up Marlin on the SKR 1.4 with the TMC2208 drivers configured in UART mode. This turned out to be pretty straightforward, but rather lengthy:
- Install VSCode
- Installed the PlatformIO plugin for VSCode (this allows you to compile Marlin for 32-bit boards)
- Clone Marlin 2.0
- Copy the boards and pins files for the SKR from BigTreeTech’s github repo
- Set up
platformio.iniwithin Marlin withenv_default = "LPC1768" - Copy the example config files for the CR-10s
- Modify
configuration.h:#define SERIAL_PORT -1 #define SERIAL_PORT_2 0 #define MOTHERBOARD BOARD_BTT_SKR_V1_4 - Modify
configuration_adv.hto set up the TMC2208 drivers- Set motor currents
- Set the number of native microsteps to use (default=16 for CR-10s)
- Don’t forget to modify the steps_per_unit in
configuration.h. These numbers assume 16 microsteps in the default CR-10s config.
- Compile and drag the firmware to the sd card on the SKR 1.4 board
- Manually restart.
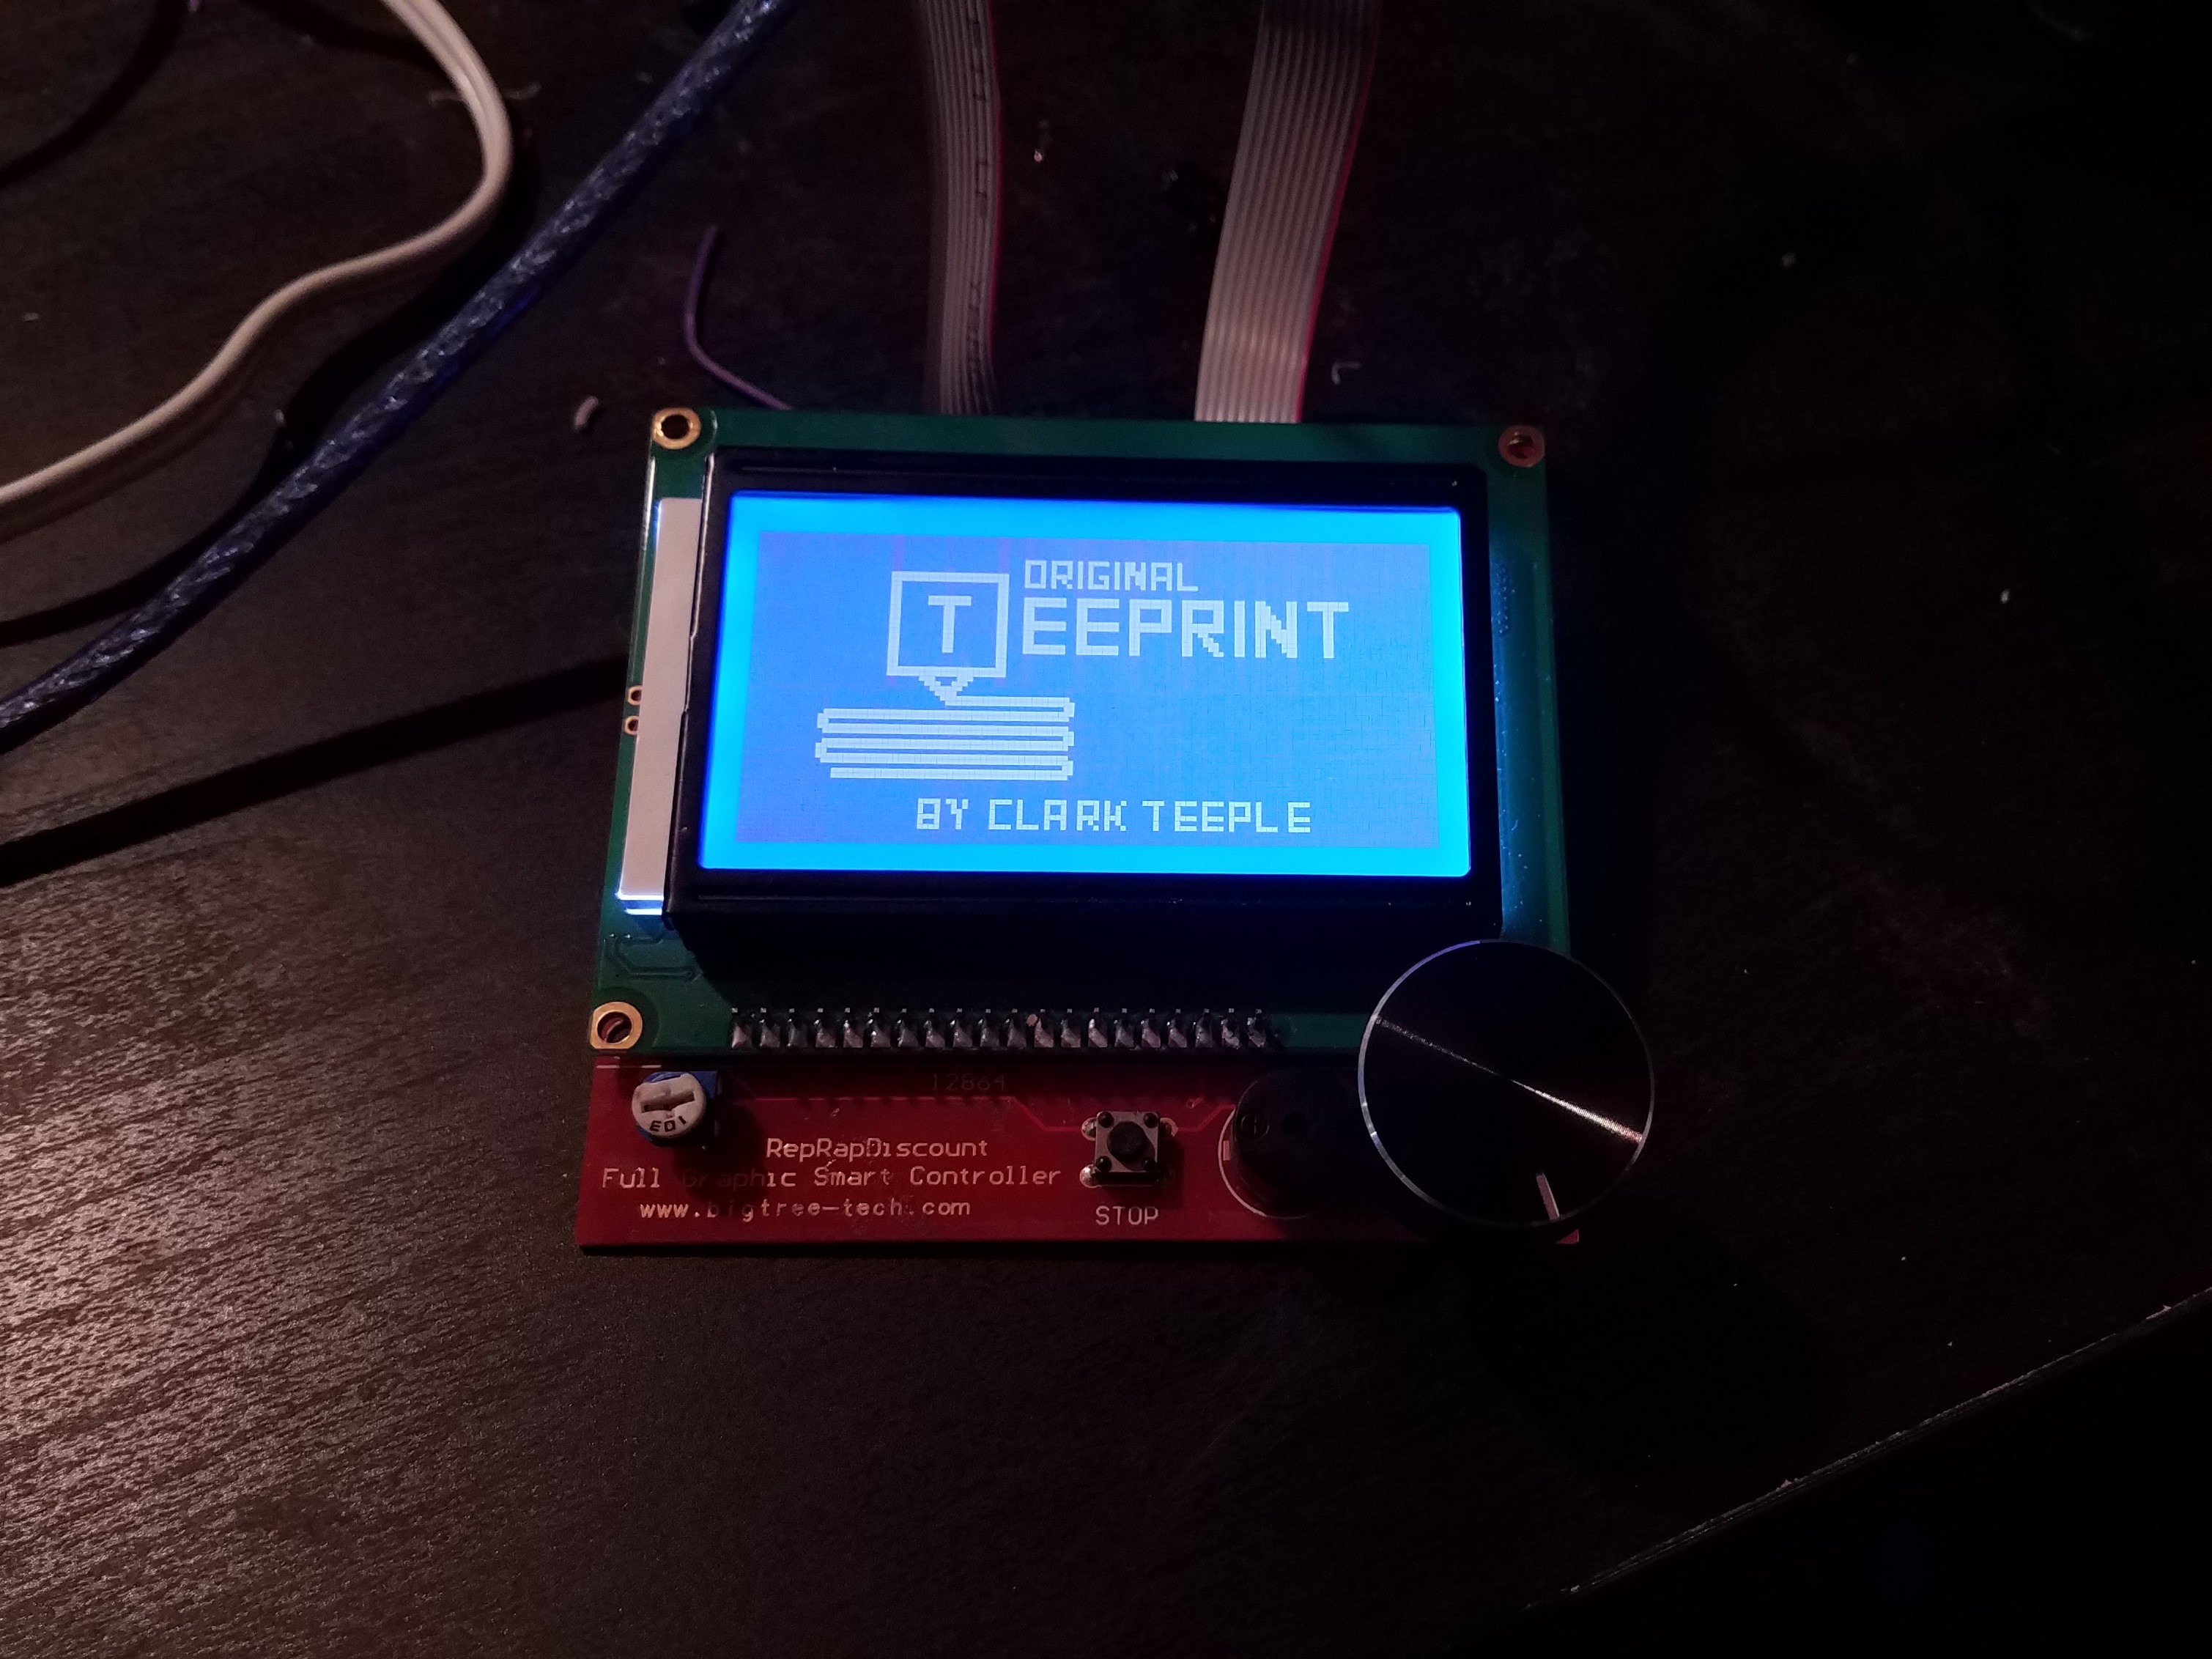
Boot Screen
After all of that nonsense getting Marlin to work, I figured I deserved a custom boot screen to commemorate all the hard work I’ve put into the printer so far. I followed these steps:
- Design the boot screen based on the instructions found on this blog post
- Use Marlin’s Bitmap to C/C++ Converter
- Select the “Boot” option
- Replace the
_bootscreen.hfile with this new one. - Hack the Marlin Firmware to only show this new boot screen
- By Default, Marlin will only has options to show Marlin’s default boot screen, show a custom screen in addition to the marlin screen, or show no boot screen.
- I obviously want to keep the boot sequence short, so I added another flag to the boot screen library that you can add in the configuration.h that disables the marlin boot screen.
Direct Drive Extruder
I designed my own remix of a model on Thingiverse
My changes included:
- Simplifying the support braces into one chamfer (to clear up space for the BLTouch sensor mount)
- Correcting errors in the mounting hole positions and sizes
BL Touch
I used a model by GuillaumeRvs on Thingiverse.
This also reqired some firmware changes as well
- Modify
configuration.h:// Use BLTouch for homing the z-axis #define USE_PROBE_FOR_Z_HOMING // Define the BLTouch sensor #define BLTOUCH #define NOZZLE_TO_PROBE_OFFSET { -40, -10, 0 } // Probe offset from the nozzle #define PROBING_MARGIN 40 // Keep the probe away from bed edges #define XY_PROBE_SPEED 12000 // Travel fast (200mm/s) #define Z_PROBE_SPEED_FAST (30*60) // Probe fast #define Z_PROBE_SPEED_SLOW (Z_PROBE_SPEED_FAST / 2) // Slow speed is half of fast speed #define Z_CLEARANCE_DEPLOY_PROBE 15 // Z Clearance for Deploy/Stow #define Z_CLEARANCE_BETWEEN_PROBES 5 // Z Clearance between probe points #define Z_CLEARANCE_MULTI_PROBE 2 // Z Clearance between multiple probes #define AUTO_BED_LEVELING_BILINEAR // Enable bilinear bed leveling #define GRID_MAX_POINTS_X 5 // Use 5x5 grid of points #define GRID_MAX_POINTS_Y GRID_MAX_POINTS_X #define Z_SAFE_HOMING // Only home Z when X and X are homed - Modify
configuration_adv.h://Use "HIGH SPEED" mode for probing. #define BLTOUCH_HS_MODE
I also added babystepping, with the option to use babystepping to directly edit the probe offset, similar to the “Live Z” adjustment in Prusa firmware. Here’s what that change looks like:
#define BABYSTEPPING
#if ENABLED(BABYSTEPPING)
  //#define INTEGRATED_BABYSTEPPING         // EXPERIMENTAL integration of babystepping into the Stepper ISR
  //#define BABYSTEP_WITHOUT_HOMING
  //#define BABYSTEP_XY                     // Also enable X/Y Babystepping. Not supported on DELTA!
  #define BABYSTEP_INVERT_Z false           // Change if Z babysteps should go the other way
  #define BABYSTEP_MILLIMETER_UNITS       // Specify BABYSTEP_MULTIPLICATOR_(XY|Z) in mm instead of micro-steps
  #define BABYSTEP_MULTIPLICATOR_Z  0.005       // (steps or mm) Steps or millimeter distance for each Z babystep
  #define BABYSTEP_MULTIPLICATOR_XY 0.005       // (steps or mm) Steps or millimeter distance for each XY babystep

  #define DOUBLECLICK_FOR_Z_BABYSTEPPING  // Double-click on the Status Screen for Z Babystepping.
  #if ENABLED(DOUBLECLICK_FOR_Z_BABYSTEPPING)
    #define DOUBLECLICK_MAX_INTERVAL 1250   // Maximum interval between clicks, in milliseconds.
                                            // Note: Extra time may be added to mitigate controller latency.
    //#define BABYSTEP_ALWAYS_AVAILABLE     // Allow babystepping at all times (not just during movement).
    #define MOVE_Z_WHEN_IDLE              // Jump to the move Z menu on doubleclick when printer is idle.
    #if ENABLED(MOVE_Z_WHEN_IDLE)
      #define MOVE_Z_IDLE_MULTIPLICATOR 10   // Multiply 1mm by this factor for the move step size.
    #endif
  #endif

  //#define BABYSTEP_DISPLAY_TOTAL          // Display total babysteps since last G28

  #define BABYSTEP_ZPROBE_OFFSET          // Combine M851 Z and Babystepping
  #if ENABLED(BABYSTEP_ZPROBE_OFFSET)
    //#define BABYSTEP_HOTEND_Z_OFFSET      // For multiple hotends, babystep relative Z offsets
    #define BABYSTEP_ZPROBE_GFX_OVERLAY   // Enable graphical overlay on Z-offset editor
  #endif
#endif
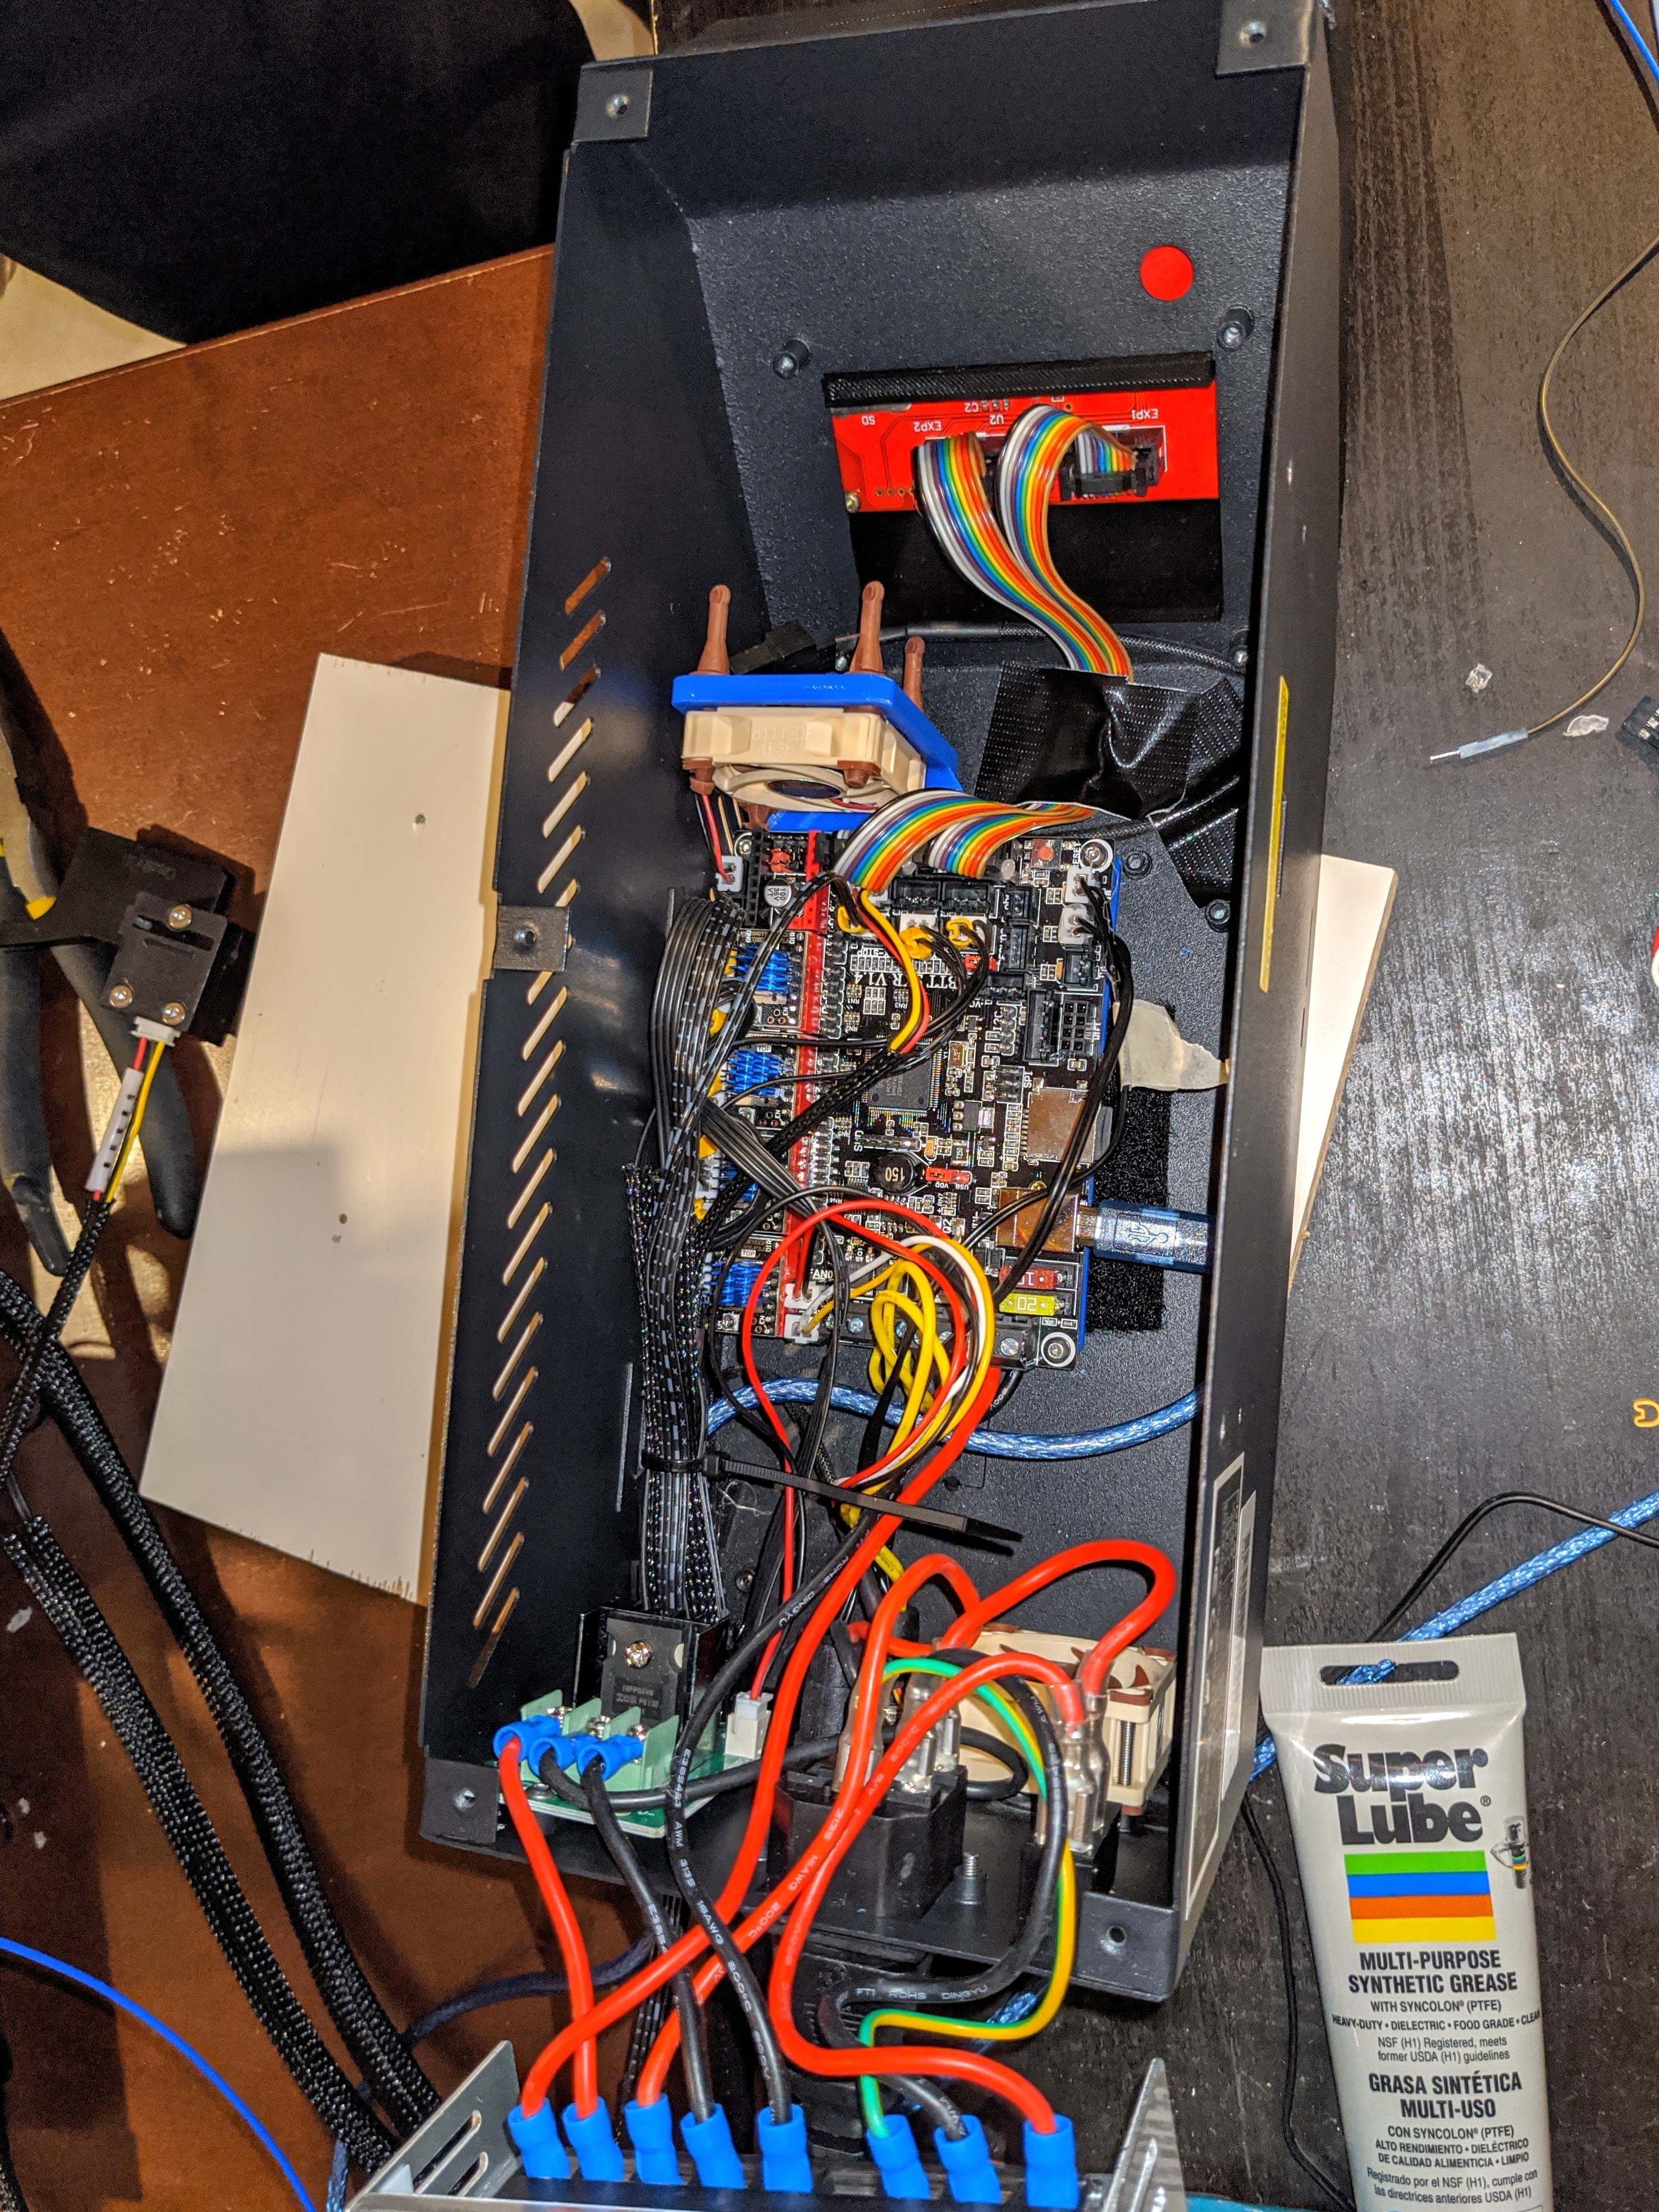
Auto Extruder Fan
Marlin has an option for automatically turning the extruder fan on/off when a temperature threshold is reached. To enable this on my SKR 1.4 board, I had to use the extra “Extruder Heater 1” plug that was unused.
To enable this in firmware is pretty simple. I followed instructions a github issue. The instructions are old enough that the bug they refer to has been fixed, so all I did was change one line in “configuration_adv.h”:
#define E0_AUTO_FAN_PIN P2_04